Beginner Paper Craft Mistakes and How to Fix Them
Warped panels, ragged edges and cracked folds all have simple causes. Learn to read the symptom, find the cause and fix it on the next piece.
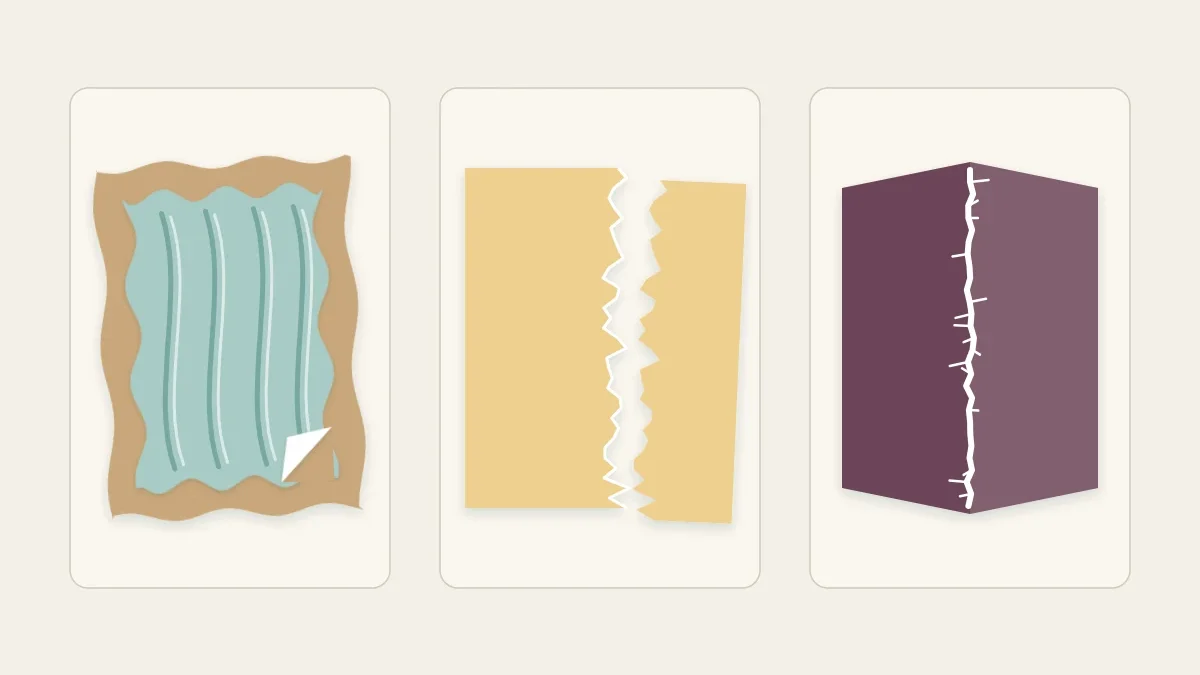
Most paper craft mistakes come from a short list of causes: too much glue, a dull blade, a fold made without a score, or a measurement taken from the wrong edge. That is good news, because each one leaves a recognizable mark on the work, and once you can read the mark you can usually name the cause and correct it on the next piece. Paper is inexpensive, so a spoiled part is rarely a disaster. What matters is knowing why it happened.
Read the Symptom First
Before changing your tools or your paper, look closely at what went wrong. The table below matches the most common faults to their usual cause and the first thing worth trying.
| What you see | Likely cause | Try this first |
|---|---|---|
| Glued panel curls or ripples | Too much wet glue on one side | Thinner coat, or a dry adhesive, then press flat |
| Fuzzy or stepped cut edge | Dull blade or one heavy pass | New blade, several light passes |
| Cut line drifts away from the ruler | Ruler slipping, blade leaning | Firm downward pressure, blade upright |
| Fold cracks along the outside | No score, or folding across the grain | Score first, fold with the grain |
| Parts do not line up | Measuring from different edges | Measure everything from one trimmed edge |
| Shiny smears on the surface | Glue on fingers or squeezed out of a seam | Less glue, kept back from the edge |
Glue Problems
Warped and rippled panels
Liquid white glue contains water. When a wet coat goes onto one side of a sheet, the fibers on that side swell and the paper curls. Thin papers ripple; cardstock bows. A heavier coat makes it worse, not stronger.
The fix is to put down less moisture. Spread liquid glue into a thin, even film with a scrap of card or a flat brush rather than squeezing lines straight from the bottle. For large flat layers, such as a patterned panel on a card front, a glue stick or double-sided tape adds almost no water and is often the better choice. The guide to matching the adhesive to the job goes through the options in detail.
Whatever you use, press the piece while it sets: lay a clean sheet of scrap paper over it and leave it under a heavy book. A panel that has already dried with a gentle bow will sometimes relax after a night under weight. Deep ripples in thin paper usually stay, and it is quicker to cut a replacement.
Squeeze-out and fingerprints
Glue that oozes from a seam dries as a glossy line, and on dark or matte paper it never fully disappears. Keep adhesive about 1/8 in (3 mm) back from the edge so it spreads to the edge under pressure instead of past it. Work on a sheet of scrap paper, replace it when it gets tacky, and keep a barely damp cloth beside you for your fingertips. If a small bead does appear, lift it straight away with the corner of a scrap of card rather than wiping it across the surface.
Cutting Problems
Ragged edges
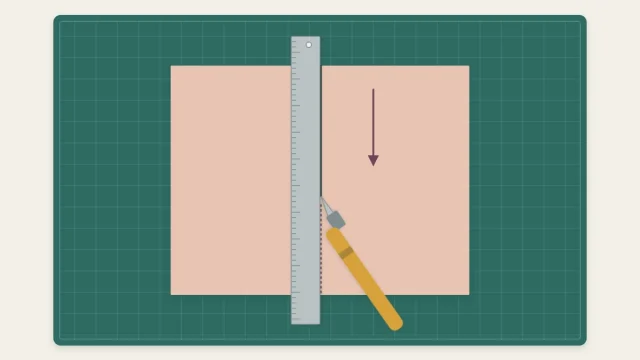
A craft knife blade dulls faster than most beginners expect, and a dull tip drags and tears fibers instead of slicing them. If an edge looks furry, or the paper bunches ahead of the blade, change the blade before blaming your hand. Then lighten your pressure: two or three easy passes along the same line give a cleaner edge in cardstock than one hard one, and they are much easier to control.
Lines that wander
When a straight cut curves away, the ruler has moved or the blade has leaned. Use a metal ruler, spread your fingers along its length and press down rather than sideways. Stand or sit so that you pull the knife toward your body in a straight line instead of across it. Place the ruler over the part you want to keep: if the blade strays, it strays into the waste.
Watch out
Keep the fingers of your holding hand on top of the ruler and behind its edge, never hanging over the side the blade runs along. Slow down for the last inch of every cut, where slips are most common.
Torn inside corners
Small tears at the corners of windows and slots happen when a cut runs into the corner and overshoots, or stops short and the waste is pulled out anyway. Starting each cut at the corner and working away from it prevents both. The article on clean cuts with scissors and a craft knife covers corners and curves properly.
Folding Problems
Cracked folds
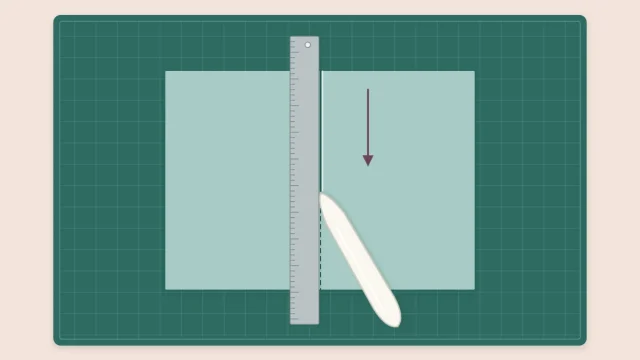
Cardstock folded without preparation breaks along the outside of the bend, showing a rough, pale line. Coated and deeply dyed papers show it most. A score compresses the fibers along the fold line so the sheet bends in one place instead of fracturing, and it is the single biggest improvement to folded work. If you have not done it before, follow the steps for scoring before you fold.
Grain matters too. Paper folds more cleanly parallel to its grain than across it. If a fold cracks even after scoring, try cutting the next piece with the sheet turned 90 degrees. A cracked fold on a finished piece can be disguised on colored-core paper by running a matching pencil or marker lightly along the ridge, but it will not be invisible.
Crooked folds
A fold that starts true and ends 1/16 in (about 2 mm) off was closed from one end. Instead, bring the two edges together, hold them aligned with one hand, and press the crease from the center outward to each side. On a scored line the fold should fall into place without being forced.
Measuring and Fit
Parts that almost fit usually share one of three causes. First, measurements were taken from different edges of a sheet that was never square. Trim one edge straight, then measure everything from it. Second, a thick pencil line was cut on the wrong side. Mark with small, sharp tick marks and decide before cutting whether the blade goes on the line or beside it. Third, the thickness of the paper was ignored. A lid, a sleeve or an envelope needs a little clearance over whatever goes inside it, and layers of cardstock add up quickly.
When a project has parts that must fit together, cut and assemble one test set from plain scrap before using good paper. It takes a few minutes and shows every problem at once.
Habits That Prevent Most Problems
- Change knife blades early; they cost far less than the paper they spoil.
- Test glue, folds and cuts on an offcut of the same paper first.
- Score every fold in anything heavier than text-weight paper.
- Keep one clean area of the table for assembly and another for gluing.
- Dry-fit all the parts before any adhesive comes out.
- Press glued work flat and give it time before handling.
Keep the pieces that went wrong for a while. A warped panel or a cracked fold in your scrap box is a useful reference, and the offcuts make ideal test strips for the next project. If several of these problems showed up at once, it can help to step back to the beginner’s overview of paper crafting and rebuild the basics in order.
Frequently asked questions
Why does my paper curl after gluing?
Water-based glue swells the fibers on the glued side, so the sheet curls. Use a thinner, even coat or a dry adhesive such as a glue stick or double-sided tape, and press the piece under a heavy book while it sets.
Can a cracked fold be repaired?
Not fully. On colored paper you can soften the look by running a matching pencil or marker lightly along the ridge. For the next piece, score the fold line first and try folding parallel to the grain.
How often should a craft knife blade be changed?
There is no fixed interval. Change it as soon as edges look fuzzy, the paper drags or bunches ahead of the blade, or you notice yourself pressing harder to get through the sheet.