Paper Cutting Techniques: Clean Cuts With Scissors and a Craft Knife
How to cut straight lines, smooth curves and sharp inside corners in paper and card, and how to tell whether scissors or a knife is the right tool.
Project at a glance
Materials
- 2-3 sheets of printer paper
- 1-2 sheets of cardstock
A clean edge is the first thing the eye notices in a finished piece, and a ragged one is the hardest flaw to disguise afterward. Good paper cutting techniques are not about strength or speed. They come down to a sharp edge, a steady guide and letting the tool do the work in a controlled way. Scissors and a craft knife each have jobs they do best, and knowing which to pick up is half the skill.
Choosing between scissors and a knife
| Cut | Better tool | Why |
|---|---|---|
| Long straight lines | Knife and metal ruler | The ruler guarantees straightness |
| Outside curves and circles | Scissors | Smooth, continuous motion |
| Windows and inside shapes | Knife | Scissors cannot start in the middle of a sheet |
| Inside corners | Knife | Each cut can stop exactly at the corner |
| Thin or delicate paper | Scissors | A knife may drag and pucker soft sheets |
| Thick card and board | Knife, several passes | Scissors bend and crush the edge |
If you do not yet own a knife and mat, the overview of which tools to buy and when explains what to look for.
Cutting with scissors
The common mistake with scissors is steering them like a pen. The cutting hand should stay almost still, opening and closing in front of the body, while the other hand feeds and turns the paper.
- Rough-cut first. Trim away most of the surrounding sheet, leaving about 1/2 in (1 cm) around the shape. A small piece is far easier to turn than a full sheet.
- Cut deep in the blades. Open the scissors wide and use the middle section, not the tips. The middle gives the most control and the smoothest line.
- Use long strokes and do not close fully. Stop each stroke just before the tips meet, then slide forward and continue. Snapping the tips shut leaves a tiny nick at the end of every stroke.
- Turn the paper into the blades. On a curve, rotate the paper steadily with the holding hand so the line keeps arriving at the same point between the blades.
- Save the tips for tight spots. Use short snips with the tips only where the line turns sharply or ends in a point.
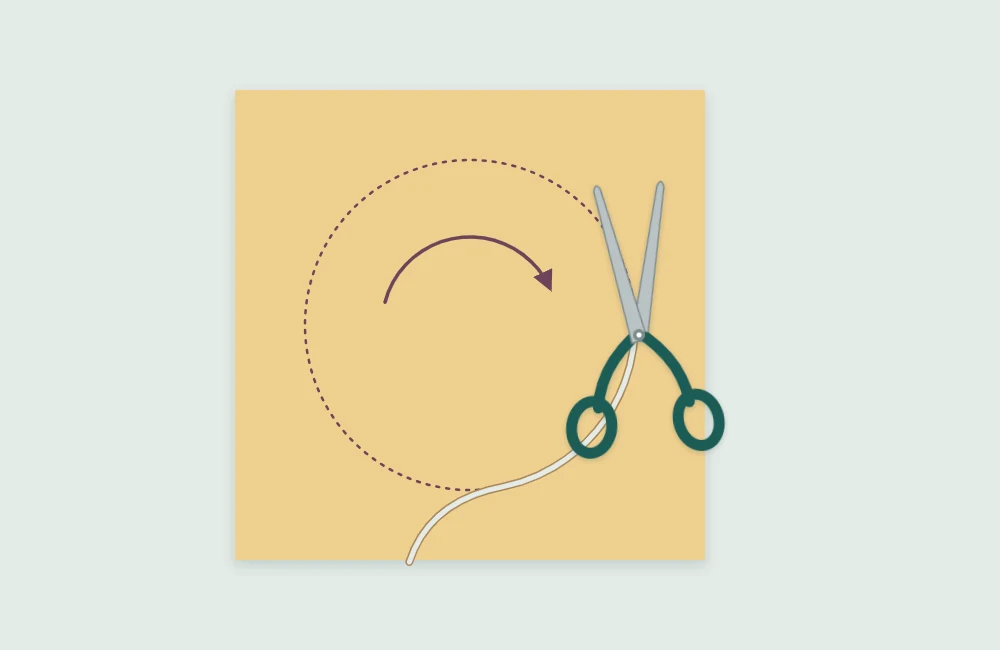
For an outward point, such as the tip of a leaf, cut along one side past the point and off into the waste, then cut the second side the same way. For an inward notch, cut into it from each side so the two cuts meet at the bottom, rather than trying to pivot the scissors inside it.
Straight cuts with a knife and ruler
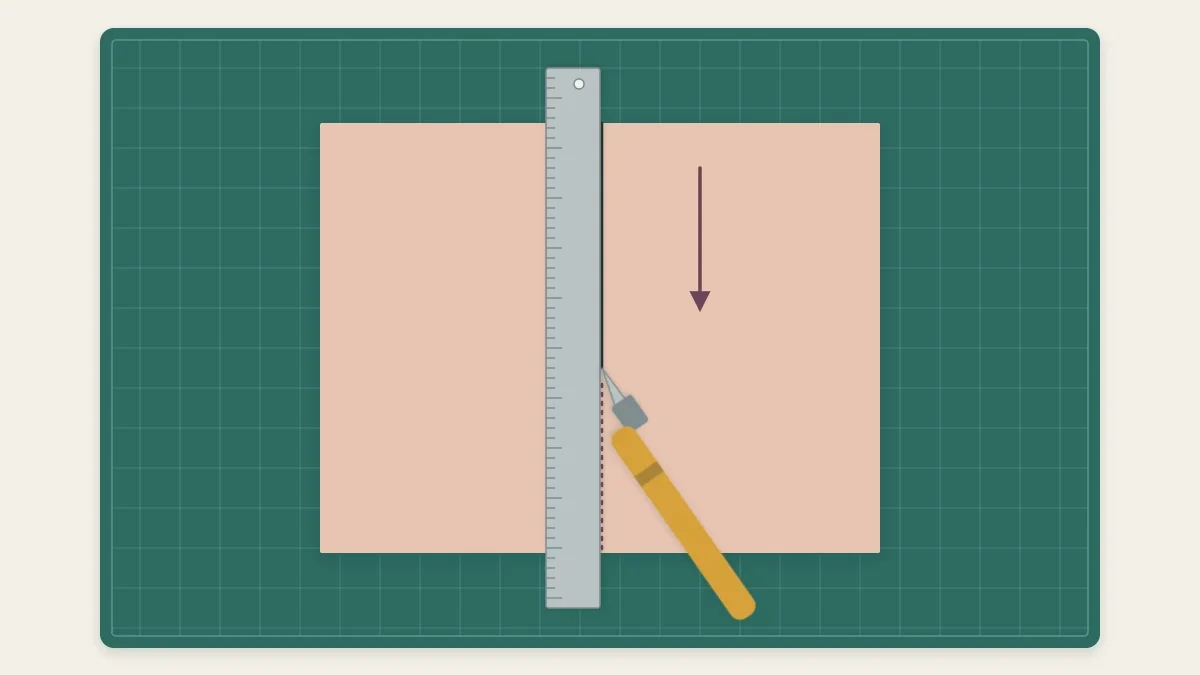
Work on a cutting mat, standing if possible so the arm can move freely along the whole cut.
- Mark both ends. Make two small pencil ticks rather than drawing a full line. There is less to erase, and the ruler defines the line anyway.
- Cover the piece you are keeping. Lay the metal ruler over the good part of the paper, with the waste exposed. If the blade wanders away from the ruler, it wanders into scrap.
- Anchor the ruler. Spread the fingers of the holding hand along the ruler and press down firmly, with every fingertip set back from the cutting edge.
- Make a light first pass. Hold the knife like a pencil, at a low angle so the edge of the blade does the cutting rather than the tip alone. Draw it toward you along the ruler with gentle pressure. This pass establishes a groove.
- Repeat in the same groove. Make a second and, on heavier card, a third pass. Several light passes cut cleaner and safer than one heavy one.
- Test before lifting the ruler. Keep the ruler in place and ease the waste away. If it clings anywhere, cut that spot again while the guide is still aligned.
Watch out
Most knife slips happen when a dull blade is forced. If you notice yourself pressing harder, stop and change the blade. Never cut toward the hand that holds the ruler, and never use a plastic ruler as a knife guide; the blade can ride up over its edge.
Inside corners and small openings
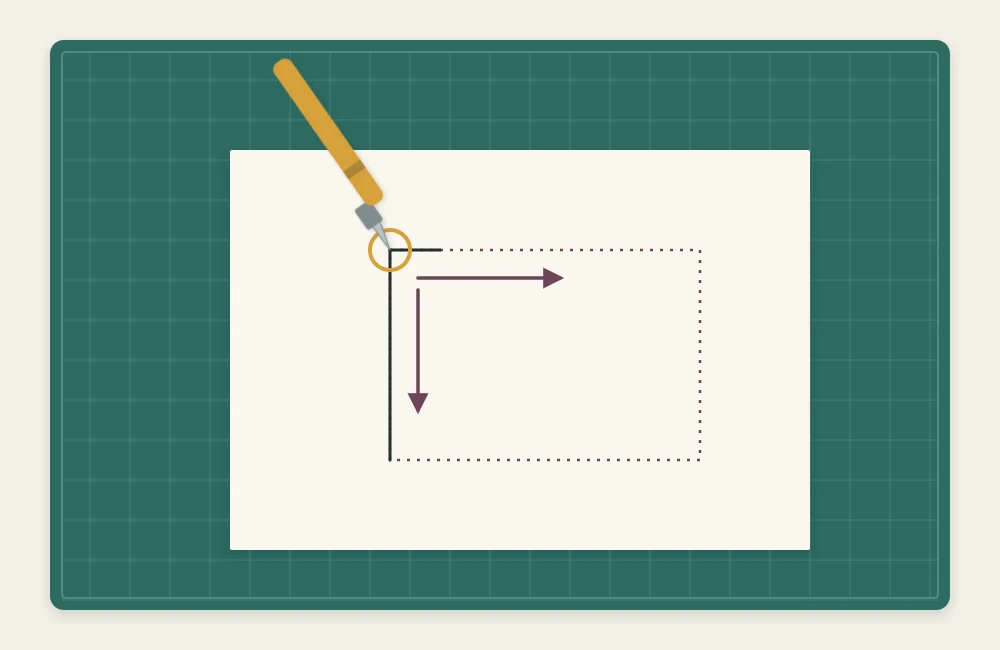
Corners are where knife cuts most often go wrong. Cutting into a corner tempts the blade to travel a fraction too far, leaving an overcut that shows as a small slit in the finished piece.
The remedy is to reverse the direction. Place the blade tip exactly in the corner and cut away from it, toward the middle of the line. Then return to the same corner, turn the paper, and cut outward along the second side. Each line is finished by a stroke coming from the corner at its other end, and the cuts meet in the middle of the side, where joining them is easy.
When a design has several openings, cut the smallest and most central ones first and the outer outline last. The sheet stays stronger and easier to hold while the delicate work is done. This principle is developed further in the guide to designing and cutting a paper silhouette.
Curves with a knife
Freehand curves take practice. Hold the knife more upright than for straight cuts, so only the tip is in the paper, and move slowly. As with scissors, keep the cutting hand in a comfortable position and rotate the paper under the blade with the other hand. Aim to cut each curve in one continuous motion; stopping and restarting leaves a small angle in the line.
Cutting several layers at once
Folded or stacked paper, as in six-point paper snowflakes, multiplies the thickness at the blades. Use thin paper, limit the number of layers, and hold the stack firmly near the cut so the layers do not shift against one another. With scissors, cut farther back in the blades, where leverage is greatest. With a knife, hold the layers together with small clips placed in the waste area and make more passes rather than adding pressure.
When edges turn out rough
- Fuzzy or torn edge: the blade is dull. Replace it.
- Wavy straight cut: the ruler moved, or the knife leaned away from it. Press the ruler down harder and keep the blade upright against its edge.
- Small nicks along a scissor cut: the tips were closing fully on each stroke.
- Corners still attached: the cut stopped short. Re-cut from the corner outward instead of pulling the piece free, which tears the fibers.
- Angular, faceted curve: the scissors moved and the paper did not. Slow down and turn the paper.
Other finishing problems, including warping and cracked folds, are worked through in the guide to fixing common beginner errors. For cutting itself, a few practice lines on scrap before each project are the most reliable warm-up.
Frequently asked questions
Why does my craft knife tear the paper instead of cutting it?
The blade is almost certainly dull, or its tip has broken off. Fit a new blade and use several light passes rather than one heavy one.
Should I cut curves with scissors or a knife?
Outside curves and circles are usually smoother with scissors, turning the paper into the blades. Use a knife for curves inside a sheet, where scissors cannot reach.
How do I avoid overcutting at inside corners?
Start each cut with the blade tip in the corner and draw it outward along the line, instead of cutting toward the corner. A cut that begins at the corner cannot run past it.