Easy Paper Crafts for Adults: Relaxing Projects to Try First
Eight low-pressure paper projects for adults, from bookmarks to a woven mat, with rough times and the skill each one builds.
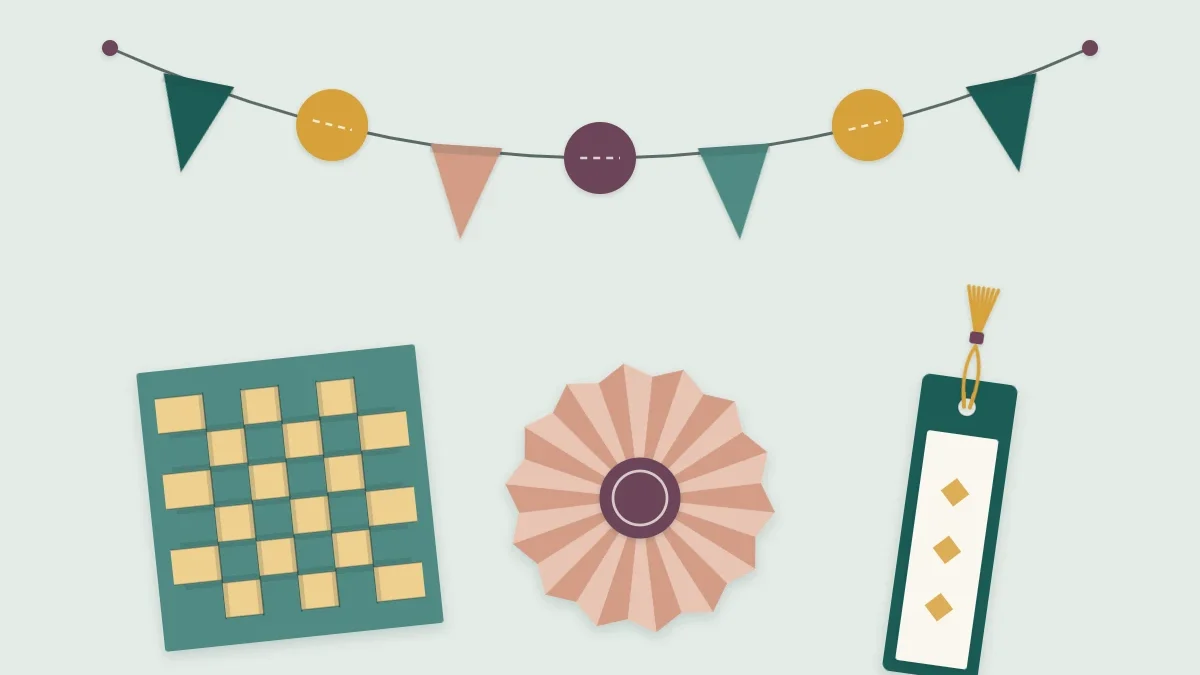
The best easy paper crafts for adults share a few traits: they need little equipment, they forgive small errors, and they end with something you would actually keep on a shelf, hang on a wall or tuck into a book. The eight projects below are chosen on that basis. None requires previous experience, most fit into a single evening, and each one quietly teaches a skill that larger projects depend on.
What Makes a Project a Good First One
A project is easy for reasons that have little to do with how simple it looks. Three things matter most.
- Repetition. Making the same cut or fold twenty times is how hands learn. Projects built from repeated units give that practice without feeling like an exercise.
- Tolerance. In a garland or a woven mat, one slightly uneven piece disappears among the others. In a fitted box, it does not.
- Short drying and waiting times. Being able to finish in one sitting keeps a new hobby enjoyable.
All eight projects meet those tests. They can be made with scissors, a ruler, a pencil and a glue stick, though a craft knife and cutting mat make several of them quicker.
Eight Projects at a Glance
| Project | Rough time | Skill it builds |
|---|---|---|
| Bookmarks | 15–20 minutes each | Accurate measuring and layering |
| Woven mat | About 45 minutes | Straight parallel cuts |
| Rosettes | 20–30 minutes each | Even scoring and folding |
| Garland | About 1 hour | Cutting repeated shapes |
| Gift tags | 10 minutes each | Small-scale layering |
| Strip mosaic panel | 30–40 minutes | Color and spacing |
| Rolled-page coasters | An evening | Rolling and coiling |
| Torn-paper collage | Open-ended | Composition |
The times are estimates for a first attempt at an unhurried pace.
The Projects
1. Bookmarks
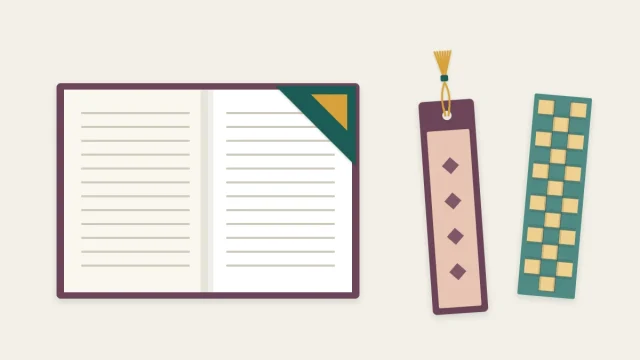
A bookmark is the smallest useful thing you can make from paper, which makes it the ideal warm-up. A strip of cardstock with a contrasting layer on top takes minutes and immediately shows whether your measuring and cutting are square. There are corner styles that slip over the page and woven ones too. The full instructions for three simple bookmark designs cover all of them. Because each uses so little paper, they are also a good way to try out a sheet you are unsure about.
2. A woven paper mat
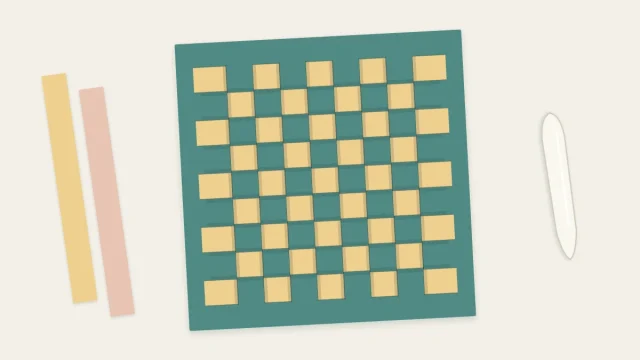
Weaving strips through a slit sheet is slow in the pleasant sense: the pattern appears row by row, and there is very little to decide once the cutting is done. It looks far more involved than it is. The only real demand is cutting straight, evenly spaced lines, which is exactly the skill worth practicing early. The finished square can be framed or mounted on a card. See the step-by-step woven mat for the layout and measurements.
3. Rosettes
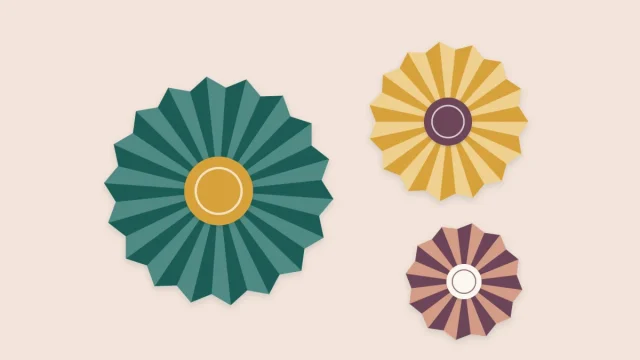
A rosette is a long strip folded back and forth, joined into a ring and pressed flat into a medallion. Folding the pleats is rhythmic work, and the moment the ring flattens into a circle is satisfying every time. Rosettes are useful as well as decorative: they sit on gift wrap, hang in groups on a wall, or mark place settings. The guide to making accordion-fold rosettes explains how strip width and length set the finished size.
4. A garland
For a project that changes a room, make a garland. It is nothing more than a set of identical shapes fixed along a thread or a length of twine, so the work is almost entirely cutting. A paper punch speeds it up, but scissors and a template are enough. Because the shapes hang and move, small differences between them are invisible. The tutorial on circle, flag and geometric garlands gives three versions.
5. Gift tags
A tag is a rectangle of cardstock with two corners trimmed and a hole at one end. Add a smaller layer of patterned paper on top and you have something better than most store-bought versions. Tags are a sensible way to use offcuts from other projects, and making a batch of ten in one sitting builds speed with a ruler and knife.
6. A strip mosaic panel
Collect narrow leftover strips in a few related colors and glue them side by side on a piece of card, leaving a hairline gap between each. Trim the edges square when the glue is dry. The result is a striped or checkered panel that can become a card front or a small framed piece. There is no pattern to follow, which makes it a relaxed exercise in choosing colors and keeping spacing even.
7. Rolled-page coasters
Old magazine pages folded into long narrow strips can be coiled tightly into flat discs. The printed colors blend into fine stripes, so even dull pages produce attractive results. It is a seated, repetitive task well suited to an evening with something playing in the background, and it costs nothing but glue.
8. A torn-paper collage
Tearing paper instead of cutting it removes the pressure to be precise. Tear shapes from colored paper, old envelopes or wrapping, arrange them on a backing sheet until the balance looks right, and only then glue them down. A collage has no correct outcome, which some people find freeing and others find harder than following steps. Try it after one or two of the structured projects.
Choosing by Mood and Time
If you have twenty minutes, make a bookmark or a couple of tags. If you want an hour of steady, absorbing work with a clear end point, choose the woven mat or a garland. If you would rather keep your hands busy without watching them closely, rosettes and rolled coasters suit that well once the first one is done. And if you want to play without a plan, go for the mosaic panel or the collage.
Tip
Buy one small pack of solid-color cardstock in a palette you like, around 65 lb (176 gsm), and make three different projects from it. Working within a single set of colors means the finished pieces look good together.
Setting Up for a Calm Session
A little preparation makes the difference between a restful hour and a frustrating one. Clear a table with good light, preferably from the side opposite your cutting hand so the ruler does not cast a shadow on the line. Lay out only the tools the project needs. Protect the surface with a cutting mat or a piece of thick cardboard, and keep a sheet of scrap paper for gluing on.
Cut all the pieces for the project before assembling any of them. Batching the work this way, measuring, then cutting, then folding, then gluing, is faster and steadier than making one complete unit at a time, and it gives each stage its own rhythm.
Finally, expect the first one of anything to be the worst one. Make it from plain scrap, see where it goes wrong, and then cut the good paper. By the third bookmark or the tenth garland circle, your hands will have worked out most of what they need to know.
Frequently asked questions
What do I need to start paper crafting as an adult?
Scissors, a ruler, a pencil, a glue stick and a small pack of cardstock are enough for every project in this list. A craft knife and cutting mat make straight cuts quicker but can be added later.
Which paper craft is the easiest to begin with?
A layered strip bookmark. It uses two small rectangles of paper and a glue stick, takes about fifteen minutes and shows straight away whether your measuring and cutting are accurate.
How long do these projects take?
Most take between fifteen minutes and an hour on a first attempt. Rolled-page coasters and collage are more open-ended and can fill an evening.