Paper Gift Tags and Toppers: Tags, Bows and Bands
Three flat finishing touches for a wrapped present: luggage-style tags with reinforced holes, a six-loop bow built from paper strips, and a paper band in place of ribbon.
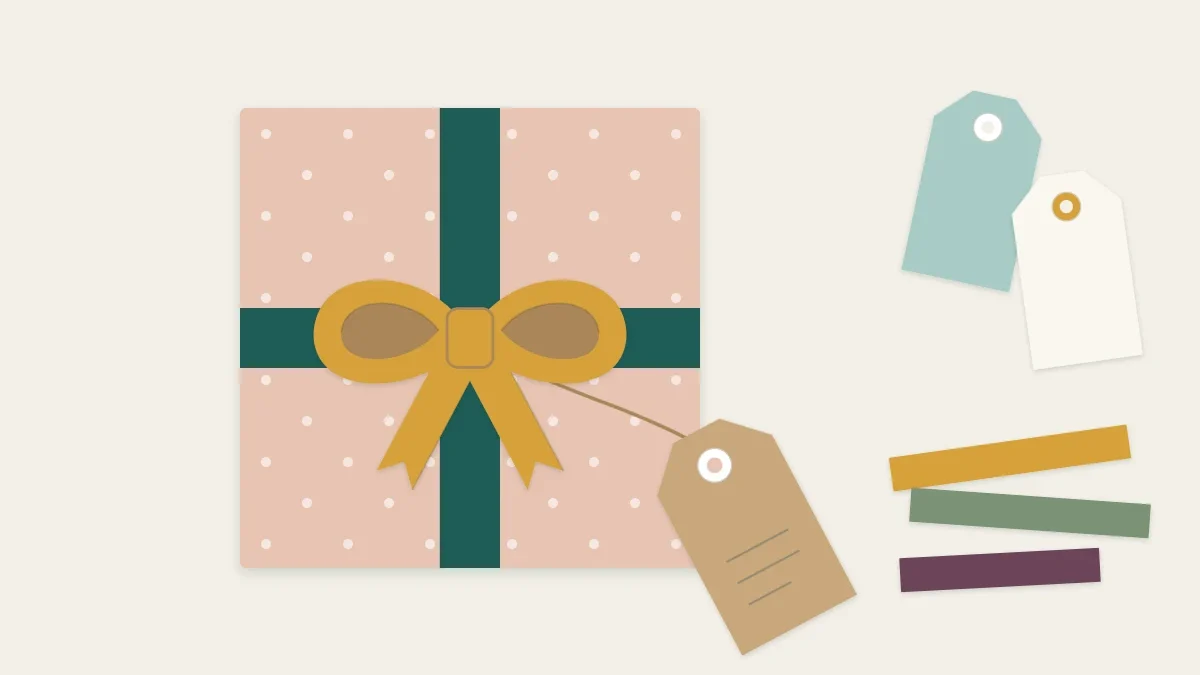
Project at a glance
Materials
- Cardstock, 2 x 4 in (5 x 10 cm) per tag
- Contrasting paper for 5/8 in (1.6 cm) reinforcement circles
- Twine or narrow ribbon, 8 in (20 cm) per tag
- Text-weight paper strips, 3/4 in (2 cm) wide: 9 in, 8 in, 7 in, 7 in and 3 in long
- Paper strip for the band, 1.5 to 2 in (3.8 to 5 cm) wide
- Double-sided tape or adhesive dots
- Foam tape or a strong adhesive dot to attach the bow
Wrapping paper does most of the work on a present, but the details on top decide whether it looks finished. Handmade paper gift tags, a bow built from strips and a band around the middle take a few minutes each, use offcuts that would otherwise sit in a drawer, and can be matched exactly to the wrapping. All three are flat or nearly flat, so they suit gifts that will be stacked, mailed or carried in a bag.
Choosing Paper for Each Piece
The three pieces want different papers. Tags need stiffness, so use cardstock of 65 to 80 lb (176 to 216 gsm). Bow loops need to curve without kinking, which means lighter stock: text-weight paper around 24 to 32 lb (90 to 120 gsm), or a double-sided scrapbook paper that is thin enough to bend smoothly. Bands work in either weight. Most of this can come straight from the offcut tray; the piece on ways to use leftover paper has ideas for sorting it so tag-sized pieces are easy to find.
For adhesive, double-sided tape or adhesive dots are the better choice for bows and bands, because they hold curved paper instantly. Wet glue needs to be held while it grabs, and loops tend to spring apart before it does.
Gift Tags With Reinforced Holes
A tag with a reinforcement ring around the hole lasts longer and looks more deliberate than a bare punched hole. These measurements make a classic luggage-style tag.
- Cut the rectangle. Cut cardstock to 2 × 4 in (5 × 10 cm).
- Clip the top corners. Mark 1/2 in (1.3 cm) in from each top corner along the top edge and 1/2 in (1.3 cm) down each side. Cut diagonally between each pair of marks to make the angled shoulders.
- Add the reinforcement. Punch or cut a circle about 5/8 in (1.6 cm) across from a contrasting paper. Glue it centered between the shoulders, with its top edge about 1/4 in (6 mm) below the top of the tag.
- Punch the hole. Punch through the center of the circle and the tag together with a standard 1/4 in (6 mm) hole punch, or a smaller 1/8 in (3 mm) punch for fine twine. Punching after gluing keeps the ring and the hole perfectly aligned.
- Thread the tie. Fold an 8 in (20 cm) length of twine or narrow ribbon in half, push the loop through the hole from the front, and pull the two ends through the loop.
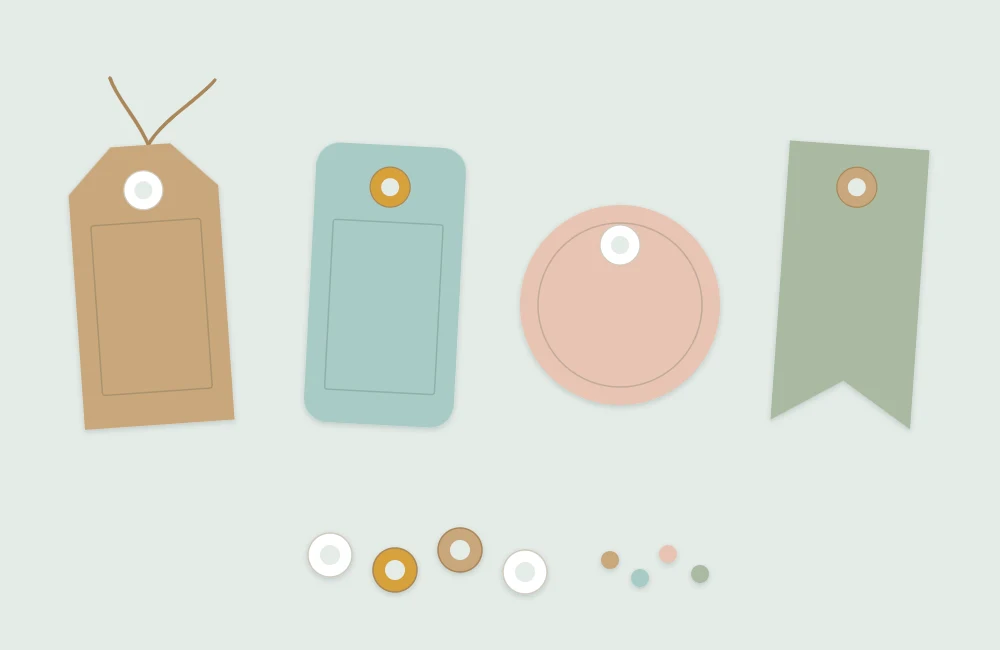
From that base, the shape is easy to change. Round the bottom corners, cut the lower edge into a shallow V, or use a square 2.5 in (6.4 cm) tag with the hole in one corner. For curved or scalloped outlines, the advice on cutting smooth curves with scissors applies directly. To decorate, layer a slightly smaller panel of patterned paper on the front, leaving a narrow border of the base color, and keep the back plain for the name.
A Layered Bow From Paper Strips
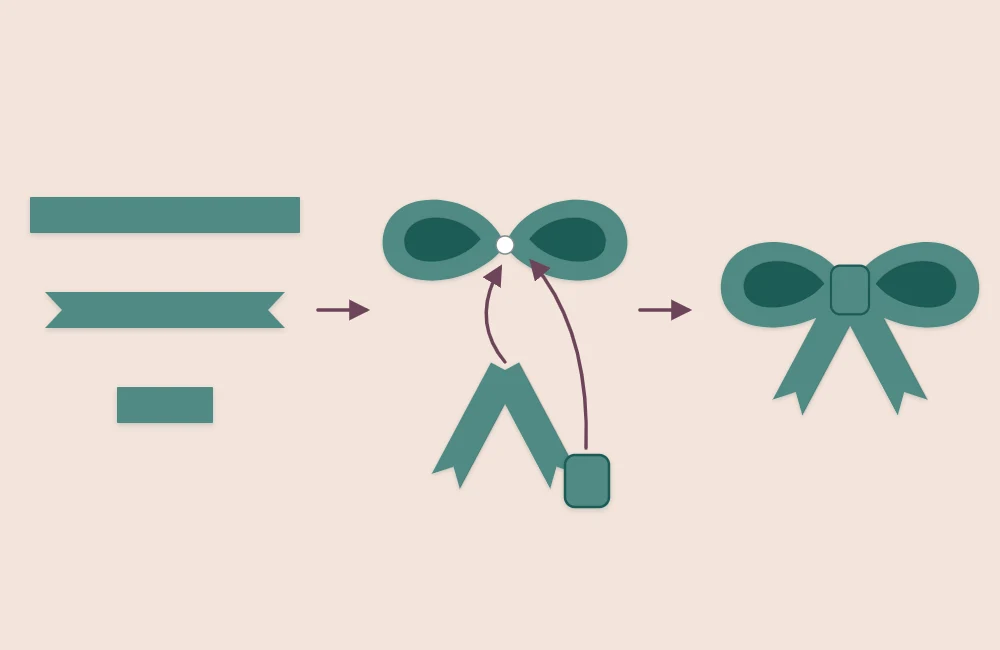
This bow is made from three looped strips stacked on top of each other, with a small ring in the center. Finished, it measures roughly 4 in (10 cm) across and stands about 1 in (2.5 cm) high.
- Cut the strips. Cut everything 3/4 in (2 cm) wide. You need three loop strips of 9 in, 8 in and 7 in (23, 20 and 18 cm), one center strip of 3 in (7.5 cm), and one tail strip of 7 in (18 cm).
- Soften the paper. Draw each loop strip gently over the edge of a table or a bone folder, colored side out, so it takes a slight curl. This prevents sharp kinks when the loops are formed.
- Form the double loops. Mark the center of the longest strip on its back. Put a small piece of double-sided tape on the mark. Curl one end around and press it onto the tape, then curl the other end around to meet it on the same side, forming a flattened figure eight. Repeat with the other two strips.
- Stack the layers. Fix the middle-sized double loop on top of the largest, turned about 60°, a sixth of a full turn. Add the smallest on top, turned by the same amount again. Six loops now fan out evenly.
- Make the center. Roll the 3 in (7.5 cm) strip into a ring, overlapping the ends by about 1/4 in (6 mm), and tape it closed. Stick it upright in the middle of the stack to hide the joins.
- Add the tails. Fold the tail strip in half at a slight angle so the two ends splay apart. Cut a V notch into each end, then fix the fold under the bow.
Tip
For a larger or smaller bow, keep the same proportions: each loop strip about 1 in (2.5 cm) shorter than the one beneath it, and the strip width roughly one-twelfth of the longest strip.
Attach the bow to the gift with a square of foam tape or a strong adhesive dot. If a flatter, more formal topper suits the wrapping better, an accordion-folded medallion does the same job, and the method for folding paper rosettes scales down well to gift size.
Paper Bands in Place of Ribbon
A band is a strip of paper wrapped around the gift and joined underneath. It holds a tag in place, covers a seam in the wrapping, and gives a plain kraft or white parcel a single line of color.
Cut the band 1.5 to 2 in (3.8 to 5 cm) wide. For the length, wrap a strip of scrap paper around the parcel, mark where it meets, and add 1 in (2.5 cm) for the overlap. Wrap the real band snugly, pinch it lightly at each edge of the box to mark the corners, then take it off and crease those four marks properly so the band sits square instead of bulging. Join the ends on the underside with double-sided tape.
A second, narrower strip of about 3/4 in (2 cm) layered down the middle of the band in a contrasting paper adds depth without extra bulk.
Putting the Three Together
Restraint usually looks better than abundance. Pick two or three colors from the wrapping paper and repeat them: the band in the darkest, the bow in the brightest, the tag in a neutral with a ring that matches the bow. Slide the tag’s twine under the band before sealing it, or tuck the tag itself beneath the band at an angle so it stays flat for mailing. On a lidded handmade box, such as the one in the gift box tutorial, a band around the closed box also keeps the lid on in transit, and the bow sits on top without any wrapping paper at all.
Frequently asked questions
What paper is best for gift tags?
Cardstock between 65 and 80 lb (176 and 216 gsm) is stiff enough to hang flat and survive handling. Thinner paper works if it is glued to a cardstock backing first.
Why do my paper bow loops crease instead of curving?
The paper is probably too heavy, or it was bent without being softened first. Use text-weight paper and draw each strip gently over the edge of a table or bone folder so it takes a curl before forming the loops.
How do I attach a paper bow so it stays on?
A square of foam tape or a strong adhesive dot under the center holds well on most wrapping paper. Wet glue is slow to grab and can wrinkle thin wrapping.