Scrap Paper Projects: Ways to Use Up Leftover Paper
Sort offcuts by size, then put them to work: a strip mosaic card front, punched shapes, collage material, test pieces and tags, plus what is not worth keeping.
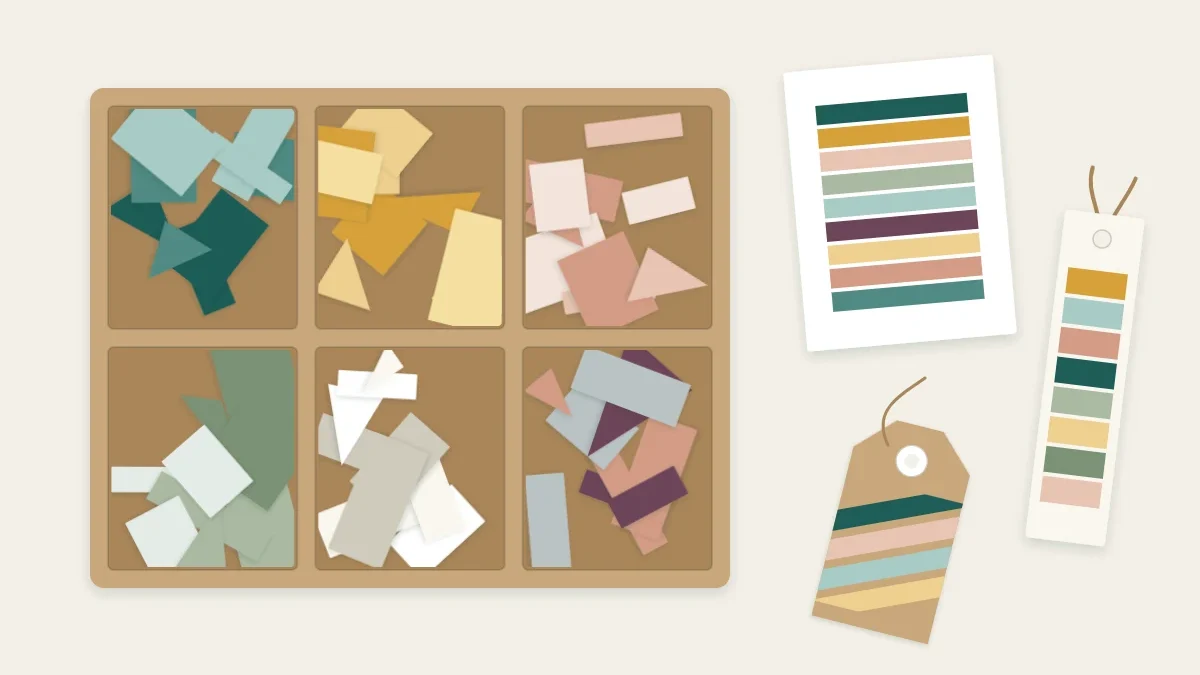
Every finished card or cut-paper piece leaves something behind: a strip from the edge of a sheet, a rectangle too small for the next card base, a curl of patterned paper too pretty to throw out. Left in a single box, these offcuts turn into a tangle nobody wants to dig through. Sorted with a little thought, they become the cheapest and most varied supply on the table, and scrap paper projects are often where the most interesting color combinations happen, because the palette has been chosen for you.
Sort by Size First, Then by Color
Most people sort scraps by color alone, then cannot find a piece large enough for the job. Size matters more, because size decides what a scrap can become. Three or four shallow trays, folders or large envelopes are enough:
| Scrap size | Good uses |
|---|---|
| Larger than 4 × 6 in (10 × 15 cm) | Mat layers for cards, envelope liners, small box lids, tags |
| About 2 × 3 in (5 × 8 cm) and up | Gift tags, punched circles, bookmark layers, die-cut or hand-cut shapes |
| Strips 1/4 to 1 in (6 mm to 2.5 cm) wide | Mosaic panels, weaving strips, borders, paper chains |
| Small odd shapes | Collage, punched confetti, test pieces for glue and blades |
Within each size group, keep rough color families together: warm colors, cool colors, neutrals and patterns. Trim torn or bent edges square as the scraps go in, so every piece is ready to use. This takes seconds with a paper trimmer and saves hunting for a clean edge later.
Tip
Set a limit. When a tray is full, either make something from it or let the least useful pieces go. A scrap collection is only helpful while you can still see what is in it.
A Strip Mosaic Panel for a Card Front
This is the classic way to use the narrow strips that pile up fastest. The strips are glued side by side onto a backing sheet and trimmed afterward, so none of them has to be measured or cut to length. The sizes below fit a standard A2 card, 4.25 × 5.5 in (10.8 × 14 cm), and leave a 1/4 in (6 mm) border of card showing around the panel.
- Cut the backing. Cut a piece of plain copy paper or thin cardstock to 3.75 × 5 in (9.5 × 12.7 cm). It will be completely covered, so use any color, including a scrap with printing on one side.
- Choose the strips. Pull 12 to 20 strips between 1/4 and 3/4 in (6 mm and 2 cm) wide, each long enough to cross the backing with a little to spare. Limit the palette to three or four colors plus one neutral; too many unrelated colors look busy.
- Lay them out dry. Arrange the strips across the backing before any glue appears. Run them straight across, or tilt them all at the same angle for a diagonal design. Vary the widths and spread the darkest colors around instead of clustering them.
- Glue one strip at a time. Cover a section of the backing with glue stick, then press each strip down tight against its neighbor, letting both ends hang over the edges. Gaps are the usual flaw, so butt each strip firmly against the last. A slight overlap is fine.
- Press and trim. Put the panel under a heavy book for ten minutes. Then turn it face down and cut away the overhang, using the edges of the backing as the guide. A craft knife and metal ruler give the cleanest result, but scissors work.
- Mount the panel. Center it on the card front with double-sided tape or a thin, even coat of glue, leaving the 1/4 in (6 mm) border on all four sides.
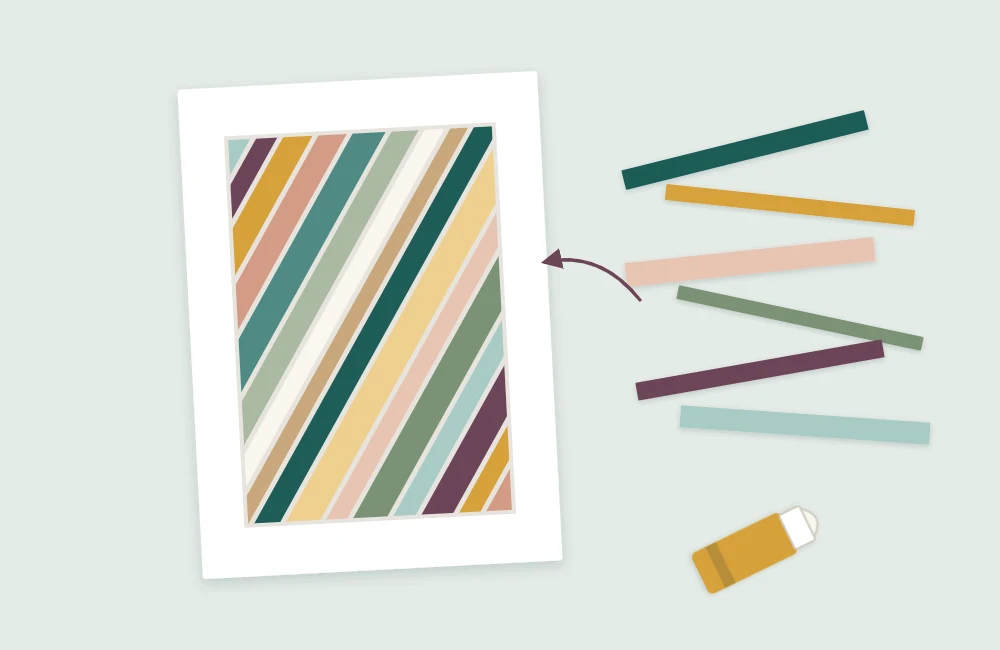
The same panel can be cut into other shapes once it is dry. Punch circles from it for tags, cut it into a simple silhouette, or slice it into new strips across the stripes and reassemble them offset, which produces a checkered effect from the same scraps. If cards are new territory, the basics of card sizes and card bases are worth a look before making a batch.
More Ways to Use Leftovers
Punched Shapes in Bulk
A circle or tag punch turns mixed scraps into uniform pieces. Punch through the whole tray in one sitting and store the results in a jar. Circles become garlands, confetti for inside a card, or layered dots on gift wrap.
Collage Material
Small irregular pieces are exactly what collage calls for, and a tray of sorted offcuts is a ready-made palette. Tearing some pieces and cutting others gives a mix of soft and crisp edges; the article on composition and color in collage explains how to arrange them so the result looks deliberate.
Quilling Strips
Text-weight scraps trimmed to an even 1/8 or 1/4 in (3 or 6 mm) can be rolled into coils. They will not be as consistent as packaged strips, so use them to practice the basic quilled shapes before opening a new pack.
Test Pieces
Keep a few scraps of each paper you use regularly, labeled in pencil with the weight. Before committing a full sheet, use the matching scrap to check how the paper scores, whether a new blade drags, and whether a glue warps or stains it.
Tags, Labels and Notes
Cardstock rectangles of 2 × 3 in (5 × 8 cm) or more make instant gift tags with one punched hole. Plain pieces in a single size, stacked and clipped together, make a notepad for the desk.
What Not to Keep
Some scraps cost more in clutter than they return. Let go of slivers under 1/4 in (6 mm) wide, pieces with glue or tape on them, creased or dirty paper, and anything you have passed over several times already. Clean, uncoated paper can usually go in household recycling, while glittered, foiled or laminated papers often cannot; local rules differ, and the EPA’s recycling basics give a general overview.
There is one more route for plain paper that is too small or too tired to use as it is. Torn up, soaked and blended, it becomes pulp for new sheets, and the process of making handmade paper from scraps turns the bottom of the tray into something worth keeping again.
Frequently asked questions
What is the best way to organize paper scraps?
Sort by size first, because size decides what a scrap can become, then by color family within each size group. Shallow trays, folders or large envelopes work well. Trim ragged edges square as the scraps go in so each piece is ready to use.
How small is too small to keep?
Slivers narrower than about 1/4 in (6 mm), pieces with glue or tape on them, and creased or dirty paper are rarely worth storing. Plain paper too small to use can be recycled or pulped for handmade paper.
Can paper scraps be recycled?
Clean, uncoated paper is usually accepted in household recycling. Papers with glitter, foil or a laminated coating often are not. Rules differ by area, so check your local program.