Paper Crafts for Beginners: Where to Start as an Adult
An adult's orientation to paper crafting: the six core techniques, a small starter kit, and a five-session plan for the first week.
Paper crafts for beginners can look more complicated from the outside than they are. A few sheets of cardstock, a pair of scissors and a glue stick are enough to make something worth keeping, and nearly every skill involved can be learned at a kitchen table in an evening or two. What makes the hobby satisfying for adults is not difficulty but pace: quiet, measured work with a visible result at the end.
What follows is an orientation rather than a project. It covers what the craft consists of, what to buy first, and a realistic path through the first week.
What the hobby actually involves
Almost everything made from paper comes down to six techniques used in different combinations. None takes long to understand, and all of them improve with repetition.
- Cutting. Straight lines with a knife and ruler, curves with scissors. Clean edges are the biggest single difference between work that looks considered and work that looks rushed.
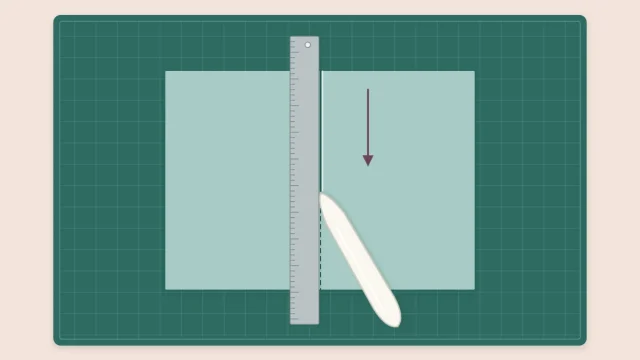
- Scoring and folding. Pressing a line into card before folding it, so the crease lands exactly where intended and does not crack.
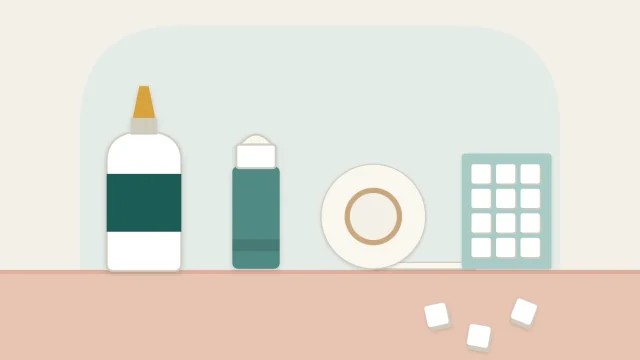
- Gluing. Using a small amount of the right adhesive so the paper stays flat instead of warping.
- Layering. Stacking shapes, sometimes with spacers between them, to build depth and shadow.
- Weaving. Passing strips over and under one another to make a patterned surface.
- Rolling. Coiling strips into discs, scrolls and beads, as in quilling or rolled-paper coasters.
Folding is one technique among several here, not the whole craft. Most projects are cut and assembled from several pieces rather than folded from a single sheet.
What adults tend to make
The range is much wider than greeting cards. Common directions include home decor such as garlands, wreaths and framed wall pieces; paper art such as collage, quilling and cut silhouettes; cards and envelopes; gift boxes and tags; seasonal decorations; and projects that reuse magazines, damaged books and leftover offcuts.
Most people try a little of everything, then settle into one or two areas that suit how they like to work. Someone who enjoys precision usually drifts toward boxes and geometric pieces. Someone who prefers loose, intuitive decisions often ends up making collage. Neither is more advanced than the other; they simply reward different kinds of attention.
A small, sensible starter kit
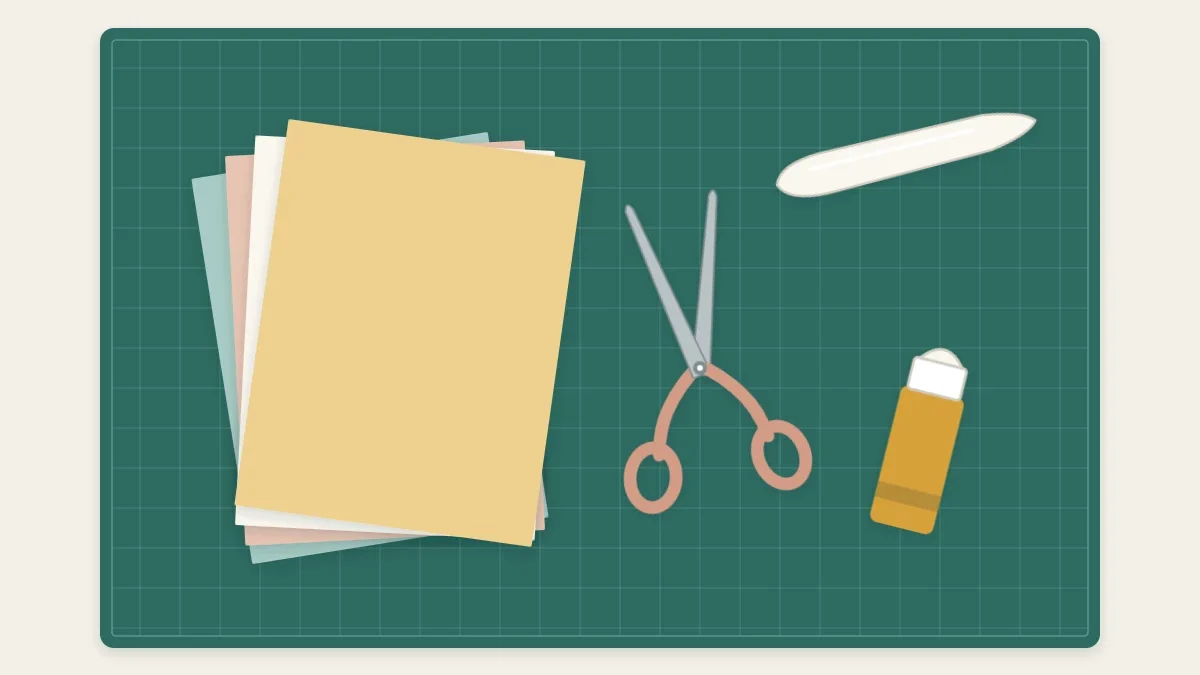
Resist the urge to buy a full set of supplies before making anything. A first kit needs only a pack of mixed-color cardstock at around 65 lb (176 gsm), some ordinary printer paper for practice, sharp scissors, a ruler, a pencil and a glue stick. That is enough for a week of real work.
A craft knife, a cutting mat and a bone folder are the natural next additions, and the guide to which tools to buy now and which can wait sets out a sensible order. Paper deserves slightly more thought than tools, because weight decides whether a project stands up or sags. The essentials are explained in how to choose paper by weight, finish and grain.
Your first week, session by session
Five short sessions of 20 to 40 minutes teach more than one long afternoon. Each of the first three isolates a single skill, and the last two turn those skills into a finished object.
- Practice cutting. Draw straight lines, gentle curves and a few circles on printer paper and cut along them. Aim to split the pencil line down the middle. On curves, keep the scissors still and turn the paper into the blades.
- Score and fold a piece of card. Mark the center of a half sheet of cardstock, press a line across it with an empty ballpoint pen held against a ruler, and fold along that line. Then fold a second piece without scoring it and compare the two creases.
- Glue two layers flat. Cut two rectangles, one slightly smaller than the other. Cover the back of the smaller one with glue stick right up to its edges, center it on the larger piece and press from the middle outward. Leave it under a heavy book for ten minutes, then check whether it dried flat.
- Make one small project. Choose something with only a few parts, such as a layered bookmark or a short garland, from this list of relaxing starter projects. Work slowly and finish it, even if an early step went slightly wrong.
- Make it again. Repeat the same project in different paper. The second version is nearly always cleaner, and setting the two side by side shows exactly what has improved.
Tip
Before any cut, score or glue step on good paper, try it once on an offcut of the same paper. Thirty seconds of testing prevents most wasted sheets.
What early results look like
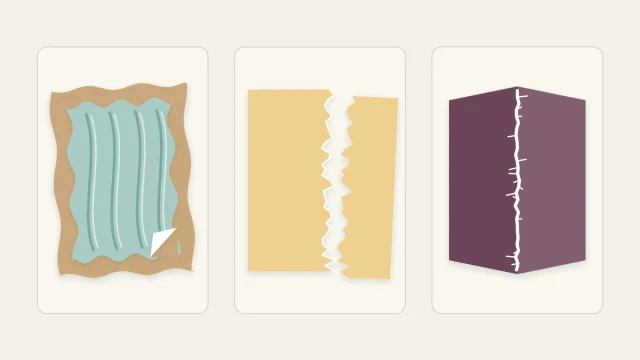
First pieces usually share the same handful of flaws: an edge that wavers, a fold that sits a little off center, a shiny smear where glue escaped, a panel that curled as it dried. None of this indicates a lack of ability. Each flaw has a specific cause, usually a dull blade, a skipped score line or too much adhesive, and each has a simple correction. The article on common beginner mistakes and their fixes works through them one at a time.
Keep the early pieces rather than throwing them out. Penciling the date on the back turns them into a record, and after a month the difference between the first attempt and the latest one is hard to miss.
Setting up a place to work
No dedicated room is needed. A flat table at a comfortable height, good light and a protected surface are enough. A few habits make the work easier from the start:
- Wash and dry your hands before handling paper. Skin oils and traces of hand cream leave marks, especially on dark colors.
- Keep drinks on a separate surface. A single ring of moisture ruins a sheet.
- Use a tray or a shallow box lid for work in progress, so a project can be lifted off the table and resumed later without losing pieces.
- Save offcuts in an envelope or folder. They are the best material for testing cuts and glue, and many small projects are made entirely from them.
- Store paper flat and away from direct sunlight and damp, which cause fading and curling.
Where to go after the first week
By the end of five sessions you will know which part of the process was most absorbing, and that is a better guide than any list of recommended projects. If cutting was the pleasure, try a simple silhouette or a lantern. If assembling layers was more satisfying, a card or a shadow-box scene is a good next step. If the repetitive, rhythmic steps were the calming part, weaving and quilling offer plenty of them.
Whichever direction appeals, choose projects slightly beyond the last one rather than far beyond it. Skills in this craft build on each other in small increments, and steady progress is more enjoyable than a difficult project abandoned halfway.
Frequently asked questions
Do I need a craft knife to start paper crafting?
No. Scissors, a ruler, a pencil and a glue stick are enough for the first week. A craft knife, cutting mat and metal ruler become useful once you want long straight cuts or shapes cut from the middle of a sheet.
What paper should a beginner buy first?
A pack of mixed-color cardstock at around 65 lb (176 gsm) plus ordinary printer paper for practice. That weight is firm enough to hold a shape but still easy to cut with scissors.
How much time does a first project take?
Small starter projects such as a bookmark or a short garland usually fit into a single session of under an hour. Short, regular sessions build skill faster than occasional long ones.