How to Make Paper Bookmarks: Three Simple Designs
Three paper bookmarks to make in an evening: a corner pocket, a layered strip with a ribbon hole and a woven strip, each with exact measurements.
Project at a glance
Materials
- Cardstock, one US Letter or A4 sheet makes all three
- Patterned or contrasting paper for top layers and weaving strips
- Glue stick
- Narrow ribbon or embroidery thread, about 10 in (25 cm)
- Thin paper to back the woven bookmark (optional)
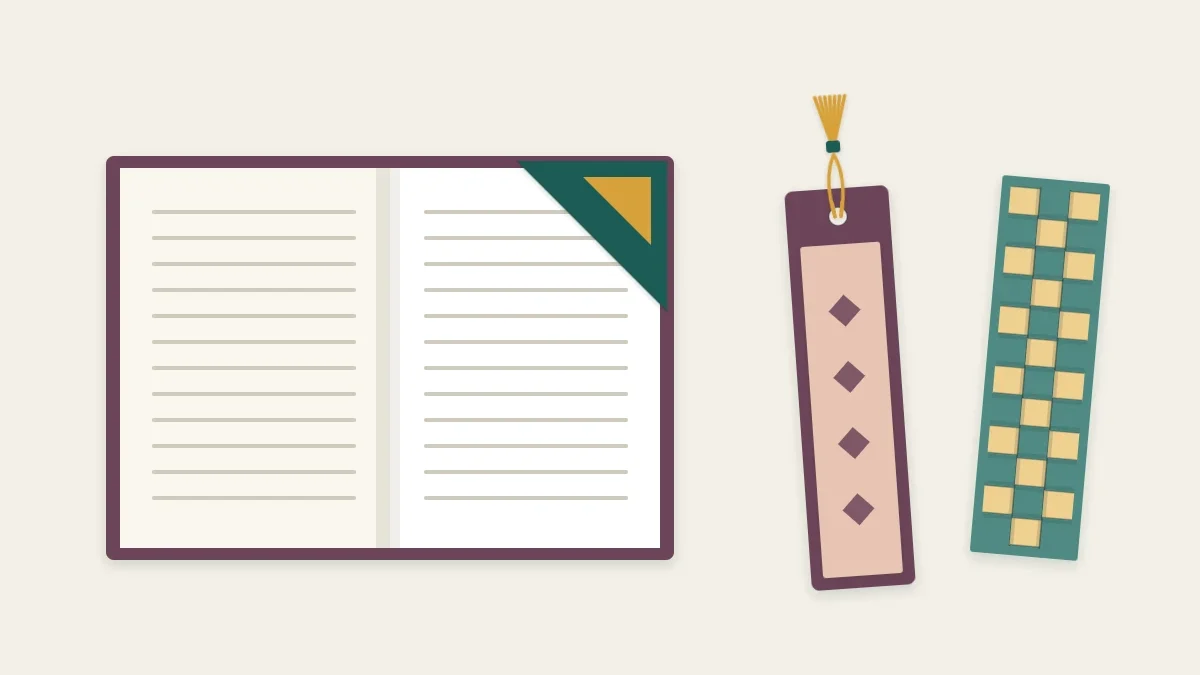
Paper bookmarks are quick to make, use almost no material and get handled every day, which is more than can be said for most small projects. The three designs here each work differently: a corner pocket that slips over the page, a layered strip with a hole for a ribbon, and a woven strip with a checkered center.
Paper and Tools
A bookmark needs to be stiff enough to survive being pushed between pages but thin enough not to strain the binding. Cardstock around 65 lb (176 gsm) is a good base for all three designs. Top layers and weaving strips can be lighter: text-weight paper, patterned scrapbook paper, or leftovers from other work. This is a natural use for the offcuts described in ways to use up leftover paper.
Scissors will do for the strip and corner designs. The woven design needs a craft knife, a metal ruler and a cutting mat, because the slits stop short of the ends and cannot be cut from the edge.
Design 1: Corner Bookmark
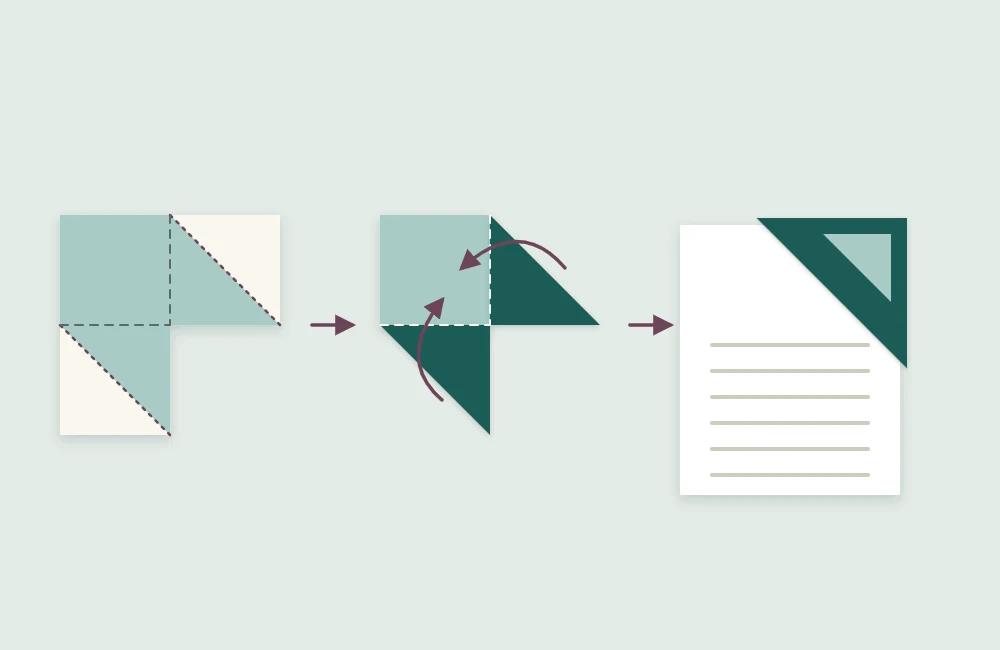
This bookmark is a square back with a triangular pocket on the front. It grips the corner of the page rather than sitting between the pages, so it will not slide out of a book carried in a bag. The finished size is 3 in (7.6 cm) square. It is cut from a single L-shaped piece.
- Draw the layout. On the back of your cardstock, draw a 6 in (15.2 cm) square and divide it into four 3 in (7.6 cm) squares with one vertical and one horizontal line.
- Remove one square. Cut away any one of the four small squares. The remaining L has a corner square, which becomes the back, and two arms.
- Trim the arms into triangles. On each arm, rule a diagonal that slices off the outer tip: the one corner at the far end of the arm that touches neither the back square nor the notch you just cut. Each arm should now be a triangle with one short side joined to the back square and the other short side running along the notch.
- Score the two joins. Score along both lines where the triangles meet the back square. If scoring is new to you, see how to score for a crisp crease.
- Fold the first triangle. Fold one triangle flat over the back square. It should cover exactly half of it, with its point at the corner of the square nearest the notch.
- Glue the second triangle. Apply a thin coat of glue stick to the top of the first triangle only, then fold the second triangle down onto it. Keep glue off the back square or the pocket will seal shut.
- Press. Slip a scrap of paper into the pocket to catch any stray glue and leave it under a book for a few minutes.
Design 2: Layered Strip Bookmark
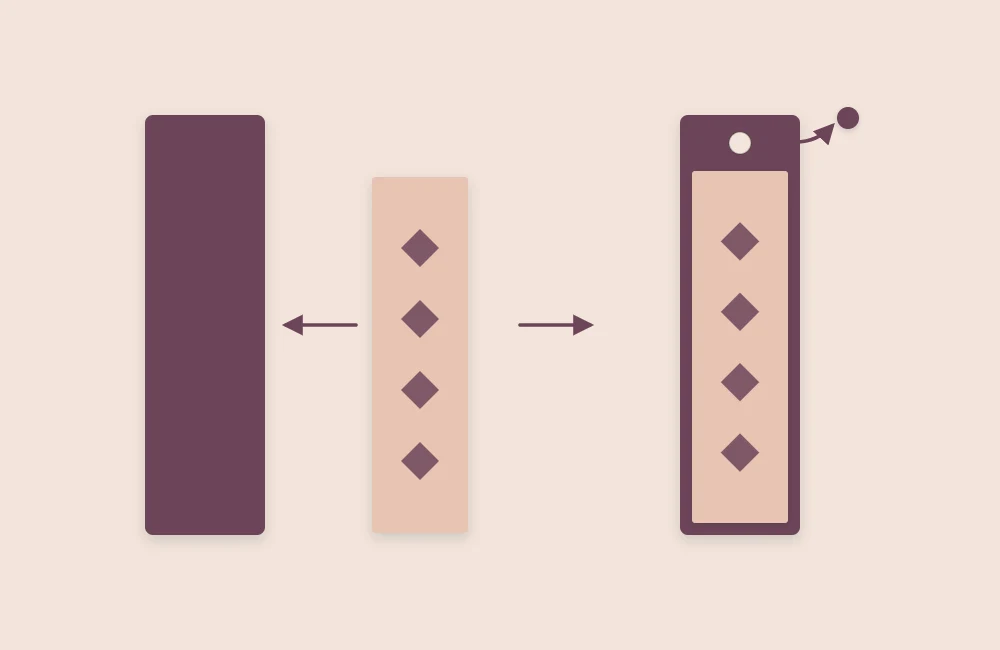
The classic shape, improved by a second layer. The base measures 2 x 6 in (5 x 15.2 cm) and the top layer is cut smaller so that an even 1/8 in (3 mm) border shows all around.
- Cut the base. Cut a rectangle 2 x 6 in (5 x 15.2 cm) from cardstock.
- Cut the top layer. Cut a rectangle 1 3/4 x 5 3/4 in (4.4 x 14.6 cm) from patterned or contrasting paper.
- Glue the layers. Coat the back of the top layer with glue stick right to its edges. Center it on the base, checking the border on all four sides before pressing down.
- Press flat. Cover with scrap paper and leave under a heavy book for ten minutes.
- Punch the hole. Punch a hole centered across the width, with its center about 1/2 in (1.3 cm) below the top edge.
- Add a tie. Fold a 10 in (25 cm) length of narrow ribbon or embroidery thread in half, push the loop through the hole, pass the ends through the loop and pull snug.
Tip
Rounding the four corners with scissors or a corner punch keeps them from catching and curling as the bookmark goes in and out of the book. Round both layers before gluing so the border stays even.
Design 3: Woven Strip Bookmark
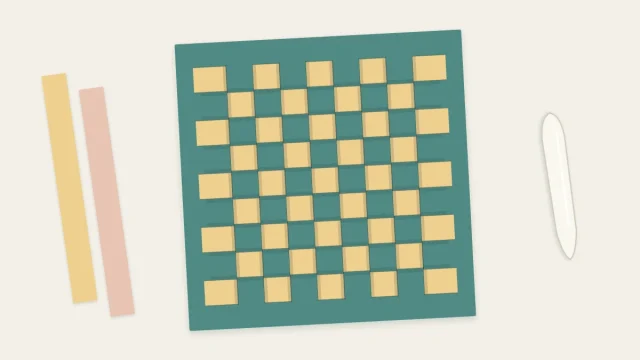
This version has slits cut along its length and short strips woven across them. It is the same over-and-under method used for a full woven paper mat, scaled down to bookmark size.
- Cut the base. Cut a 2 x 6 in (5 x 15.2 cm) rectangle of cardstock.
- Mark the slits. On the back, draw a line across the strip 1/2 in (1.3 cm) from each short end. Between these lines, rule three lengthwise lines 1/2 in (1.3 cm) apart, dividing the width into four equal bands.
- Cut the slits. With a knife and metal ruler, cut the three lengthwise lines from one end line to the other. Each slit is 5 in (12.7 cm) long and the ends of the strip stay uncut.
- Cut the weaving strips. From a contrasting paper, cut ten strips 1/2 in (1.3 cm) wide and 2 in (5 cm) long.
- Weave the first strip. Thread a strip across the bookmark: over the first band, under the second, over the third, under the fourth. Slide it up against the top of the slits.
- Alternate the next. Weave the second strip the opposite way, starting under the first band, and push it snugly against the first.
- Fill the slits. Continue alternating until the slits are full. Ten strips fill the length exactly; if yours are cut a little generously, nine may be enough.
- Secure the back. Turn the bookmark over and fix each loose strip end with a small dab of glue. For a neat finish, cover the whole back with a 2 x 6 in (5 x 15.2 cm) piece of thin paper.
Finishing and Durability
Use glue stick or double-sided tape rather than wet glue for the flat layers, since liquid glue can warp a narrow strip. Burnish glued layers through a sheet of scrap paper with the side of a bone folder. Keep embellishments flat: anything raised will press dents into the pages.
Common Problems
- The corner pocket is glued shut. Glue reached the back square. Apply it only to the first triangle and keep it away from the open diagonal edge.
- The border on the strip is uneven. The two rectangles are not square. Check the corners against a cutting mat grid before gluing.
- Woven strips buckle. They are slightly too wide for the bands. Trim a sliver off one side and reweave.
Variations
Cut the layered strip narrower, at 1 1/2 in (3.8 cm), for paperbacks. Glue a slightly smaller triangle of patterned paper onto the corner pocket. Weave with strips of two alternating colors. A set of three in one palette, tied with thread, makes a small and useful gift.
Frequently asked questions
What is the best paper for bookmarks?
Cardstock around 65 lb (176 gsm) is stiff enough to last but thin enough not to strain a book's binding. Lighter decorative papers work well as a glued top layer.
What size should a paper bookmark be?
A strip of 2 x 6 in (5 x 15.2 cm) suits most hardcovers and larger paperbacks. For small paperbacks, narrow it to 1 1/2 in (3.8 cm). The corner design here finishes at 3 in (7.6 cm) square.
Can I make these without a craft knife?
The corner and layered strip designs can be cut entirely with scissors. The woven design needs a knife because its slits stop short of the ends of the strip.