Card Making for Beginners: Supplies, Sizes and Your First Card
Standard card sizes, the right cardstock and the simple layered structure behind most handmade cards, with exact measurements for a first 4.25 × 5.5 in card.
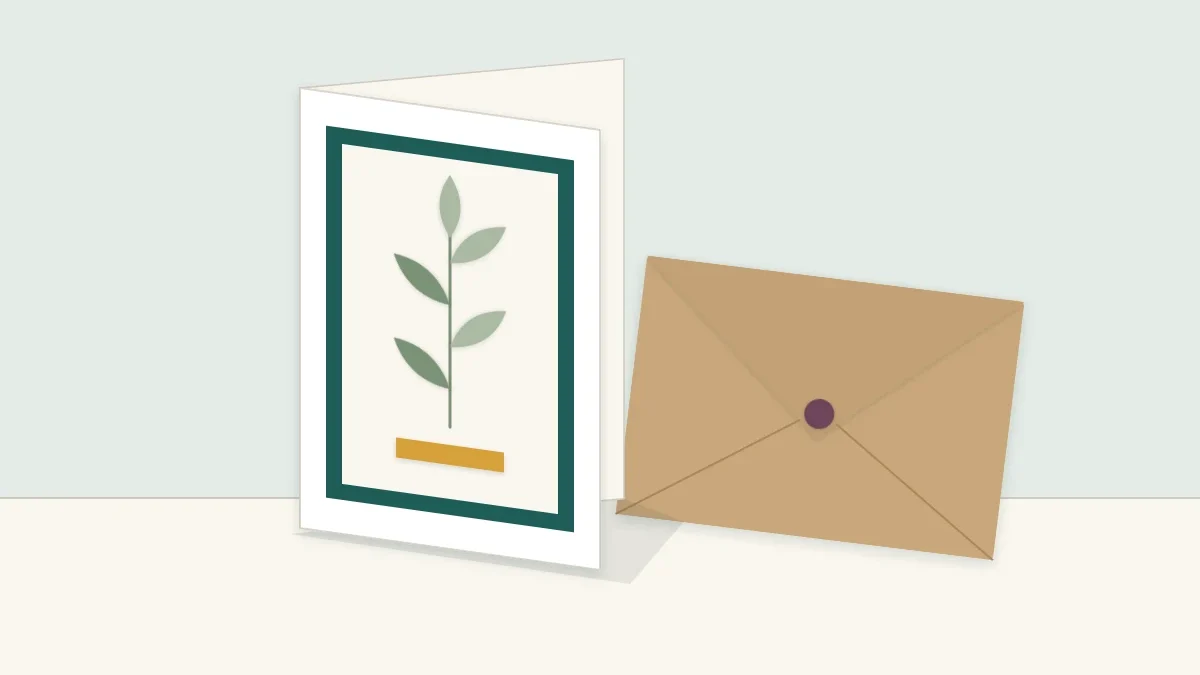
Project at a glance
Materials
- One sheet of US Letter cardstock, 80 lb cover (216 gsm), for the base
- Contrasting paper or cardstock for a 4 × 5.25 in mat layer
- Patterned or textured paper for a 3.75 × 5 in front panel
- A small scrap for one embellishment
- Double-sided tape or a glue stick
- Foam adhesive squares (optional)
- A2 envelope, 4.375 × 5.75 in
Card making for beginners comes down to three decisions: what size to make the card, what paper to build it from, and how many layers to put on the front. Get those right and a plain folded sheet turns into something that stands up on a shelf, fits a standard envelope and looks deliberately made. None of it needs specialist equipment. A ruler, something to score with and a pack of cardstock are enough to produce a card worth sending.
Start with a standard size
It is tempting to cut a card to whatever size the paper suggests. Resist that, because the envelope is the hard part to improvise. Building to a standard size means ready-made envelopes fit, and it also means very little waste from a US Letter sheet.
| Card (folded) | Cut the base to | Envelope | Notes |
|---|---|---|---|
| 4.25 × 5.5 in (10.8 × 14 cm) | 8.5 × 5.5 in | A2, 4.375 × 5.75 in | Two bases from one Letter sheet. The best size to learn on. |
| 5 × 7 in (12.7 × 17.8 cm) | 10 × 7 in | A7, 5.25 × 7.25 in | One base per Letter sheet. Room for larger designs. |
| 5 × 5 in (12.7 × 12.7 cm) | 10 × 5 in | 5.25 in square or larger | Square mail may cost more to post, so check before sending. |
If you work with A4 paper, the equivalent of the first row is a sheet cut in half to 148 × 210 mm and folded to 105 × 148 mm, which fits a C6 envelope. If no envelope is at hand, you can fold an envelope to fit the card from a square of lighter paper.
Paper for the base and the layers
The base needs to be stiff enough to stand open without sagging. Cardstock of 80 lb cover (about 216 gsm) is a dependable choice; 65 lb (176 gsm) works but feels lighter in the hand, and 100–110 lb (270–300 gsm) feels luxurious but must be scored before it will fold cleanly. Layers on the front can be thinner, since the base supports them: patterned paper, text-weight colored paper, or leftover cardstock all work.
White and cream bases are the most flexible because the inside stays easy to write on. With a dark base, plan to glue a light panel inside for the message. For more on weights and finishes, see the guide to choosing craft paper.
The anatomy of a layered card
Most handmade cards that look polished share the same simple structure, built from the back forward.
- Card base — the folded cardstock that everything else sits on.
- Mat layer — a panel slightly smaller than the card front, usually in a contrasting color, which frames whatever sits on top.
- Front panel — a second, smaller panel carrying the pattern, texture or design.
- Embellishment — one small focal piece: a cut shape, a strip, a punched circle.
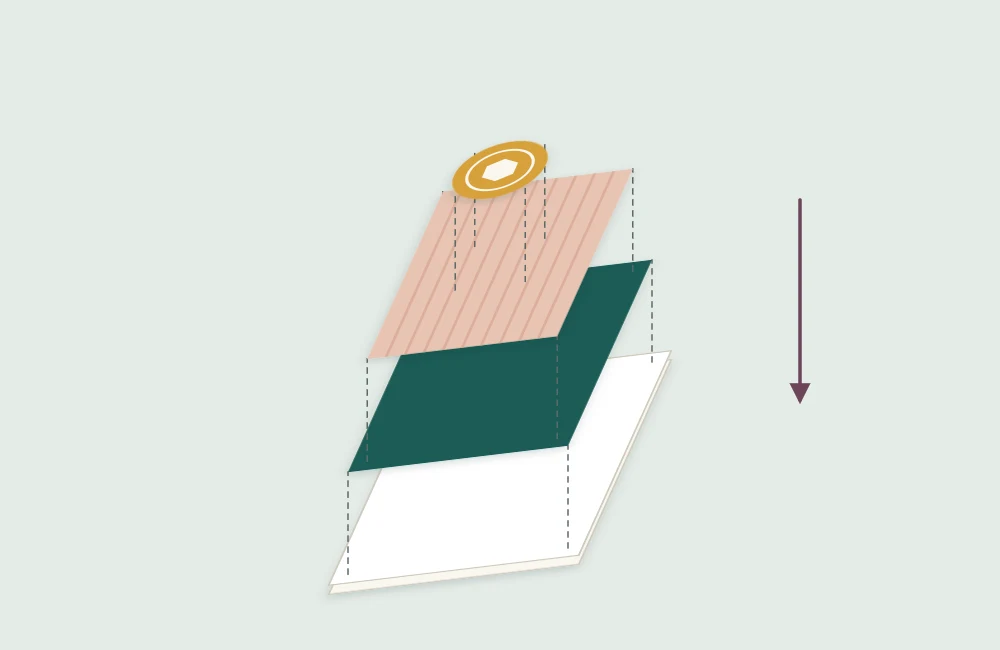
The even border that each layer leaves around the next is what gives the card its finished look. A reveal of 1/8 in (3 mm) on every side is the classic proportion, and it is what the measurements below produce.
Make your first card
This project makes one 4.25 × 5.5 in card with two layers and a single embellishment. Cut the three rectangles first, then assemble.
- Cut the base. Cut a Letter sheet of cardstock in half across its length to get a piece 8.5 × 5.5 in (21.6 × 14 cm). Set the other half aside for a second card.
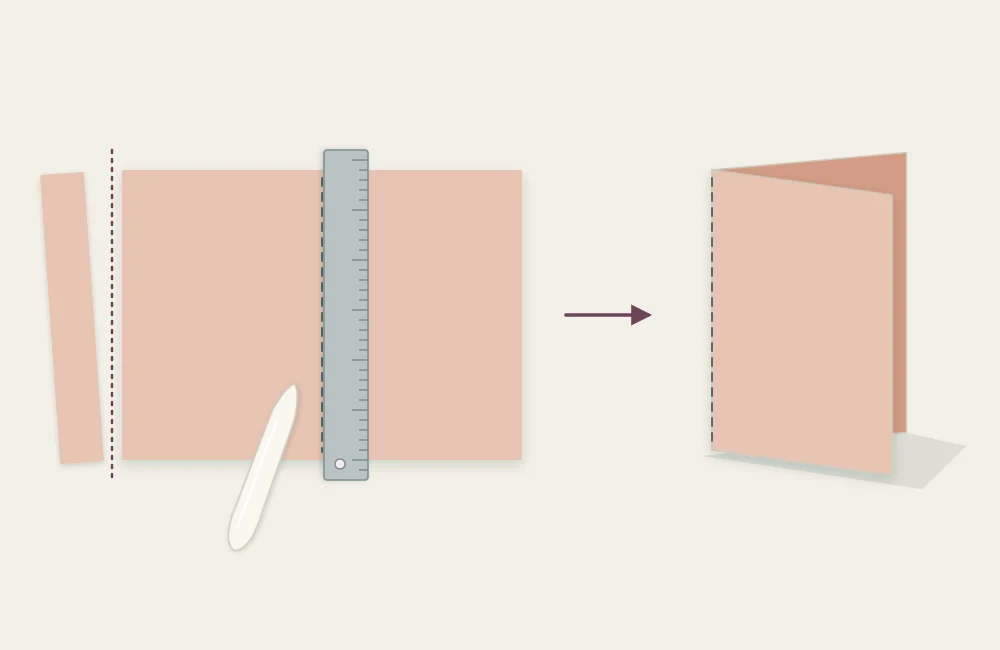
- Score the center line. Mark 4.25 in (10.8 cm) along both long edges and score between the marks with a bone folder against a ruler. If scoring is new to you, the walkthrough on scoring and folding crisp creases shows the pressure and direction.
- Fold and burnish. Fold along the score, line up the corners before pressing, and run the bone folder along the fold once.
- Cut the mat layer. Cut a contrasting piece to 4 × 5.25 in (10.2 × 13.3 cm).
- Cut the front panel. Cut patterned or textured paper to 3.75 × 5 in (9.5 × 12.7 cm).
- Dry-fit the layers. Stack panel on mat on base without glue and check that the borders are even all around.
- Glue the panel to the mat. Apply adhesive to the back of the front panel, right up to the corners, and center it on the mat. Joining these two first makes a single unit that is easier to place.
- Mount the unit on the base. With the fold on the left for a side-opening card, glue the matted panel to the front, centered.
- Add the embellishment. Place one small element off-center, for example a 1.5 in (3.8 cm) circle or a narrow band of paper across the lower third. Foam squares underneath lift it slightly and cast a small shadow.
- Press. Close the card and rest it under a heavy book for half an hour so the layers dry flat.
Tip
Use double-sided tape or a glue stick for the layers rather than liquid glue. Wet adhesive spread over a large panel is the main cause of cards that curl as they dry.
Small things that make a card look finished
Square corners. A panel that is a degree out of square shows immediately against an even border. Cut with a knife and ruler on a gridded mat, or with a paper trimmer, rather than freehand with scissors.
Restraint. One embellishment is a focal point. Five are clutter. If the front panel is boldly patterned, a plain mat and no embellishment at all may be the stronger choice.
The inside. A white panel cut to 4 × 5.25 in and glued inside gives a clean surface for writing and hides any show-through from the front.
Thickness. Foam-mounted pieces and stacked layers add bulk. A card that will be mailed should stay reasonably flat, and it is worth checking current postal requirements for anything rigid, square or unusually thick.
Where to go from here
Once the basic layered card feels easy, change one variable at a time. Turn the card so the fold sits at the top. Swap the rectangle panel for a torn-edge one. Replace the embellishment with a cut window that shows a contrasting paper beneath. When you want movement inside as well as decoration outside, the simple box pop-up mechanism uses the same base size and only two cuts per element.
Making cards in small batches is efficient, too: cutting four bases and four sets of layers takes barely longer than cutting one, and it leaves a few finished cards in a drawer for the occasions that arrive without warning.
Frequently asked questions
What size is a standard handmade card?
The most common size in the US is 4.25 × 5.5 in folded, made from half a Letter sheet (8.5 × 5.5 in) and sent in an A2 envelope. A 5 × 7 in card, made from a 10 × 7 in piece, fits an A7 envelope.
What weight of cardstock is best for card bases?
Cardstock of about 80 lb cover (216 gsm) stands up well and folds cleanly once scored. Lighter 65 lb (176 gsm) stock works but feels less substantial, and 100–110 lb stock is sturdier but must be scored before folding.
Do I need a paper trimmer to make cards?
No. A metal ruler, a craft knife and a cutting mat give square, accurate cuts. A trimmer is faster when cutting several cards at once, so it is a sensible later purchase rather than a requirement.