How to Make a Paper Envelope to Fit Any Card
Fold an envelope around the card itself from a single square of paper. One short calculation gives the size of square for any card, with no template needed.
Project at a glance
Materials
- One 8 × 8 in (20.3 × 20.3 cm) square of text-weight paper for a 4.25 × 5.5 in card
- The card the envelope is for
- Glue stick or liquid PVA glue
- Double-sided tape or a sticker to seal (optional)
- A plain paper rectangle for the address panel (optional)
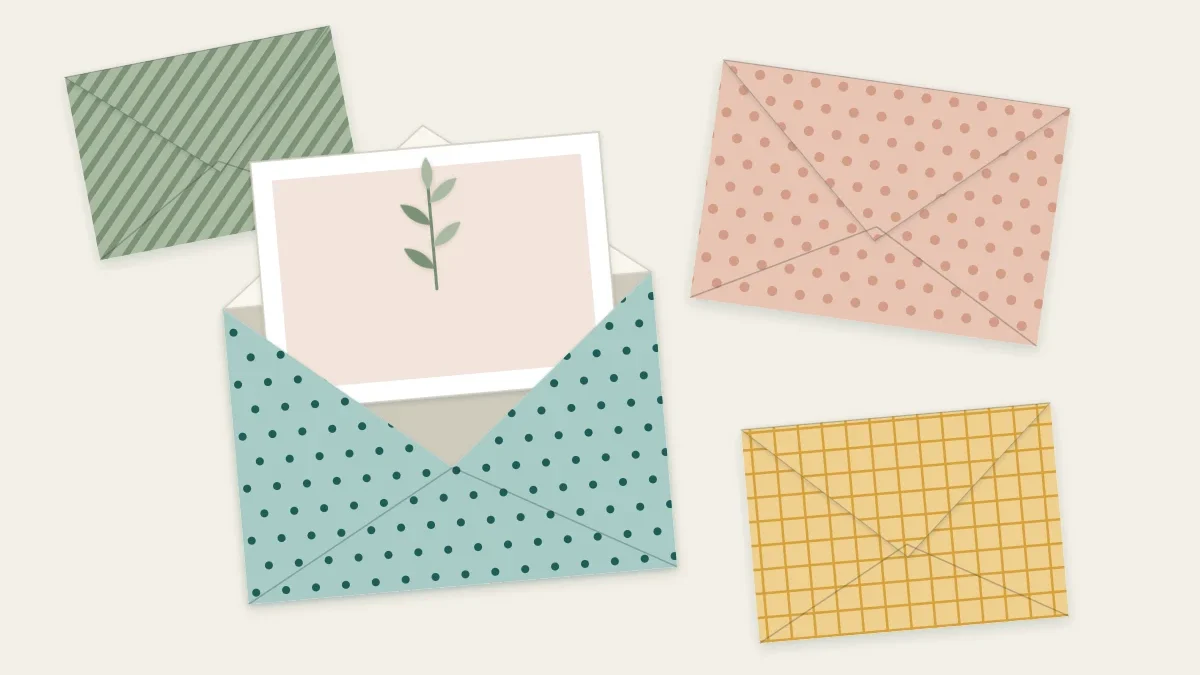
A handmade card deserves better than whatever envelope happens to be in the drawer, and an odd-sized card may not fit any of them. Knowing how to make a paper envelope solves both problems. The method here needs no template: you start with a square of paper, turn it so it sits as a diamond, and fold the four corners around the card itself. Because the card acts as the pattern, the same steps work for any size, and one short calculation tells you how big the square has to be.
Working out the size of the square
Measure the card, then:
- Add the width and height. For a 4.25 × 5.5 in card, that is 9.75 in.
- Add 1.5 in (4 cm) for ease and overlap. That gives 11.25 in. This is the diagonal your square needs, corner to corner.
- Multiply by 0.71. The result, 8 in, is the side of the square.
Round up rather than down. A slightly generous square only makes the flaps overlap more; a stingy one leaves gaps at the corners.
| Card size | Square to cut | Finished envelope (approx.) |
|---|---|---|
| 3.5 × 4.875 in (8.9 × 12.4 cm) | 7 in (17.8 cm) | 3.75 × 5.125 in |
| 4.25 × 5.5 in (10.8 × 14 cm), A2 card | 8 in (20.3 cm) | 4.5 × 5.75 in |
| 5 × 5 in (12.7 × 12.7 cm) | 8.25 in (21 cm) | 5.25 × 5.25 in |
| 5 × 7 in (12.7 × 17.8 cm) | 9.5 in (24.1 cm) | 5.25 × 7.25 in |
An 8 in square can be cut from US Letter paper, and the 20 cm equivalent from A4. A 5 × 7 in card needs a square wider than either sheet, so use 12 × 12 in scrapbook paper, gift wrap or a sheet cut from a roll of kraft paper.
Choosing the paper
Envelopes fold best in text-weight paper, roughly 24–32 lb bond (90–120 gsm). That covers good printer paper, most gift wrap, kraft paper, pages from old atlases and calendars, and lighter scrapbook sheets. Cardstock is too stiff: the flaps spring open and the corners turn bulky. Very thin paper such as tissue tears at the folds and shows the card through it.
If the paper is patterned on one side only, the pattern faces down on the table while you fold, so it ends up outside. Text pages make handsome envelopes as well; the article on crafts from damaged old books has notes on which pages to use and which books to leave alone.
Folding the envelope
These steps use the 4.25 × 5.5 in card from the first-card tutorial and an 8 in square. For any other card, the sequence is identical.
- Cut the square. Measure and cut an 8 × 8 in (20.3 × 20.3 cm) square with a knife and ruler or a trimmer. Accuracy here decides whether the flaps meet evenly.
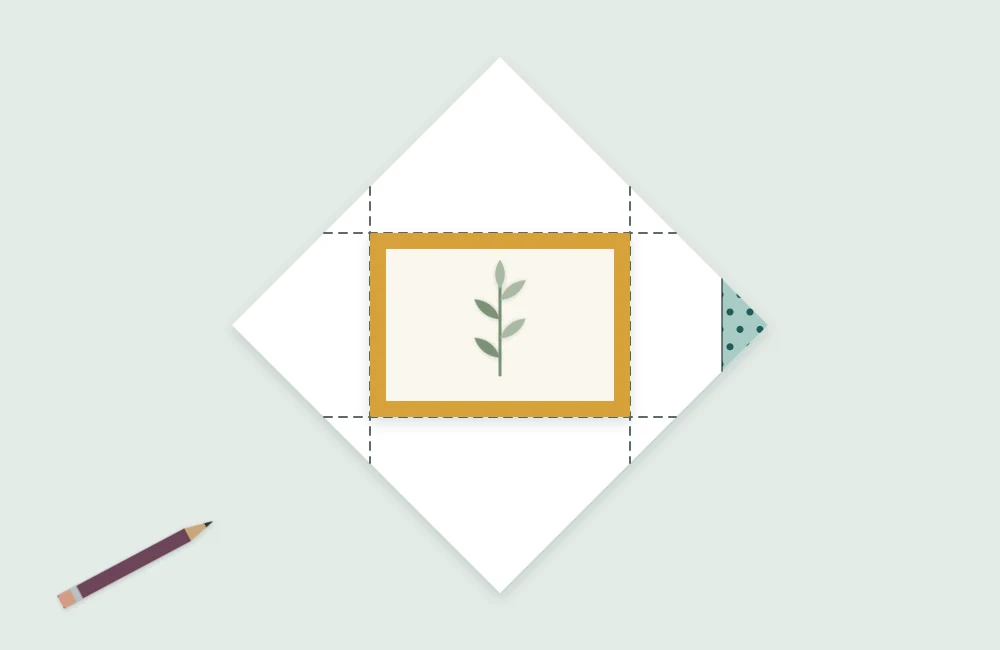
- Position the card. Turn the square so one corner points toward you. Lay the card in the center with its long side running left to right. Check that the distance from each card edge to the nearest paper corner matches on opposite sides.
- Mark the fold lines. Holding the card still, make a light pencil tick on the paper about 1/8 in (3 mm) outside each of the card’s four edges. That small allowance is what lets the card slide in and out.
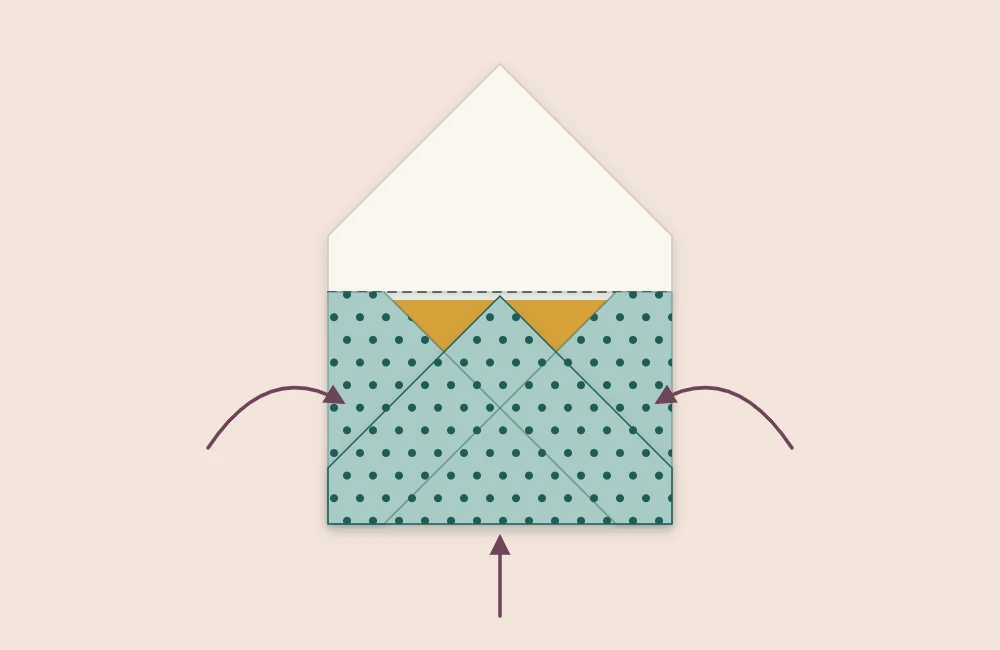
- Fold in the side flaps. Remove the card or leave it in place as a guide. Fold the left corner in along its marks, keeping the crease parallel to the card’s short edge, then do the same on the right. On an 8 in square the two points nearly meet in the middle.
- Fold up the bottom flap. Bring the bottom corner up along its marks so it overlaps both side flaps. Crease it.
- Fold down the top flap. Fold the top corner down over everything and crease. Run a bone folder along all four folds. For heavier paper, scoring the lines first gives a sharper result.
- Glue the bottom flap. Open the top and bottom flaps. Apply a thin line of glue along the two slanted edges of the bottom flap, only where they will rest on the side flaps, then fold it back up and press.
- Test the fit. Once the glue has grabbed, slide the card in. It should enter without bending and sit with a little room on each side.
Watch out
Keep glue to a narrow line near the slanted edges of the bottom flap. Anything that squeezes into the pocket will fix the card to the envelope, or seal the envelope shut before it has been used.
Sealing and finishing
For the top flap, a glue stick applied just before sealing is the simplest closure. Double-sided tape with the backing left on makes an envelope that can be prepared ahead and sealed later. A round sticker or a small paper seal works too, and suits hand-delivered cards. If you are deciding between adhesives, the guide to glue for paper crafts compares them.
A few refinements are worth the extra minute:
- Trim the bottom point. Cutting about 1/2 in (1.3 cm) straight across the tip of the bottom flap before gluing gives a tidier interior and removes a point that can catch on the card.
- Round the top point. Snipping a gentle curve on the top flap softens the look.
- Add an address panel. On dark or busy paper, glue a plain rectangle of white or cream paper to the front so the address is legible.
- Line it. A smaller diamond of contrasting thin paper glued inside the top flap shows when the envelope opens.
Troubleshooting the fit
The card buckles going in. The folds were made right against the card’s edges with no allowance. Refold slightly wider or cut a square 1/4 in (6 mm) larger next time.
There are gaps at the corners. The square is too small for the card or the card was off-center when the folds were marked. Recalculate using the formula above and round up.
The envelope looks lopsided. The starting piece was not truly square. Check by folding it corner to corner before you begin: the edges should line up exactly.
The flaps will not stay flat. The paper is too heavy. Switch to a lighter sheet.
If the envelope is going in the mail
Handmade envelopes travel through the post perfectly well when they are sealed completely, addressed clearly on a light surface and kept within ordinary letter dimensions. Very small, square or lumpy pieces can be treated differently by sorting equipment, so it is sensible to check the USPS physical standards for letters and cards before posting anything unusual. For hand delivery none of that applies, and the envelope can be as small, bright or delicate as you like.
Frequently asked questions
What size paper do I need to make an envelope for an A2 card?
An 8 in (20.3 cm) square is enough for a 4.25 × 5.5 in card and can be cut from a US Letter sheet. The general rule is to add the card's width and height, add 1.5 in, and multiply by 0.71 to get the side of the square.
What is the best paper for handmade envelopes?
Text-weight paper of roughly 24–32 lb bond (90–120 gsm) folds flat and stays closed. Cardstock is too stiff and bulky at the corners, and tissue-thin paper tears along the folds.
Can I mail a handmade envelope?
Yes, provided it is fully sealed, clearly addressed on a light surface and within normal letter dimensions. Square, very small or thick pieces may be handled differently, so check current USPS requirements before mailing anything unusual.