Paper Collage for Adults: Composition, Color and Technique
How to make a paper collage that looks considered: torn and cut edges, a limited palette, simple composition rules and gluing that stays flat.
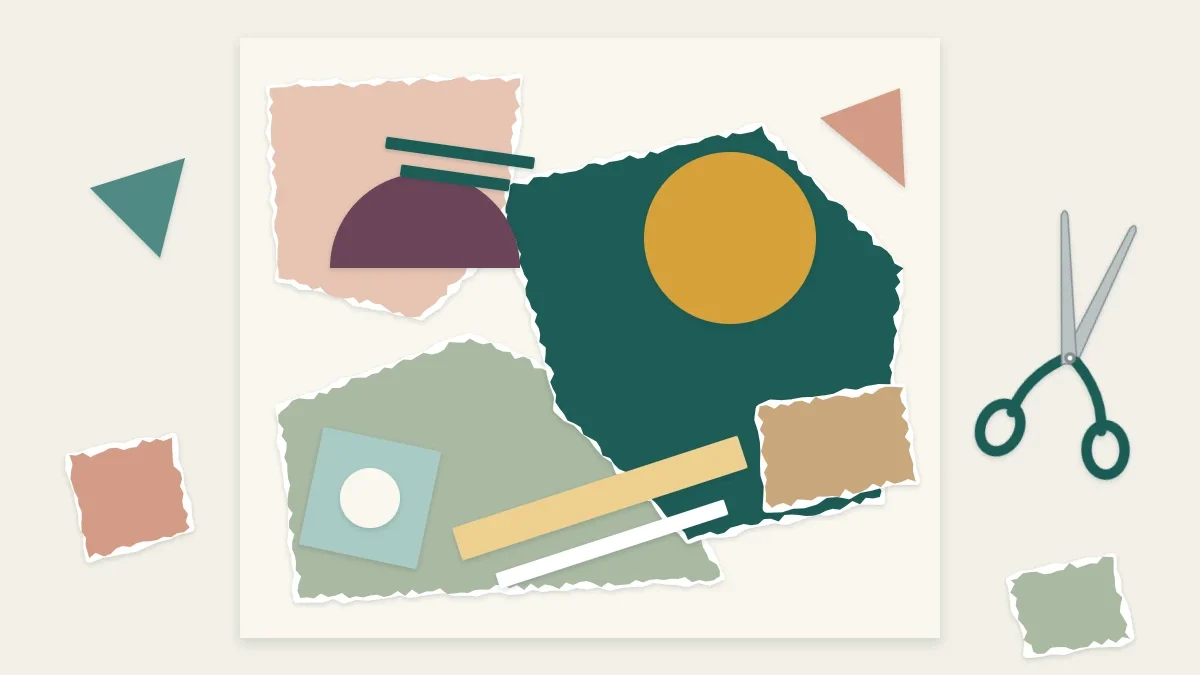
Project at a glance
Materials
- One 5 x 7 in (12.7 x 17.8 cm) base of heavy cardstock or mat board
- Seven or eight scrap papers in three colors plus neutrals
- Glue stick, PVA or matte medium
- Scrap sheets to glue on
- Baking parchment and a few heavy books for pressing
Paper collage is one of the few art forms where nothing has to be drawn. You choose papers, shape them, move them around until the arrangement feels right, and only then commit with glue. That order of work is what makes it so forgiving: every decision can be tested before it becomes permanent. What separates a collage that looks considered from one that looks like a pile of scraps is rarely the paper itself. It is edge quality, a limited palette, and a composition with one clear idea.
Two edges, two moods
Every piece in a collage has an edge, and the edge does as much work as the color. There are only two basic kinds, and learning to choose between them on purpose is the first real skill.
A cut edge is crisp and deliberate. It suits geometric shapes, architectural subjects and anything that should read as graphic. Scissors give flowing curves; a craft knife and metal ruler give dead-straight lines. If your cuts come out ragged, the fix is in the technique rather than the paper, and the guide to cutting cleanly with scissors and a knife covers it.
A torn edge is soft and irregular. On paper that is colored only on the surface, tearing exposes a pale, fibrous core along one side of the tear. Pull the waste piece toward you and the white core shows on the piece you keep; pull it away from you and the core stays on the waste. That thin pale line works like a built-in highlight and is useful for hills, clouds, water and anything organic.
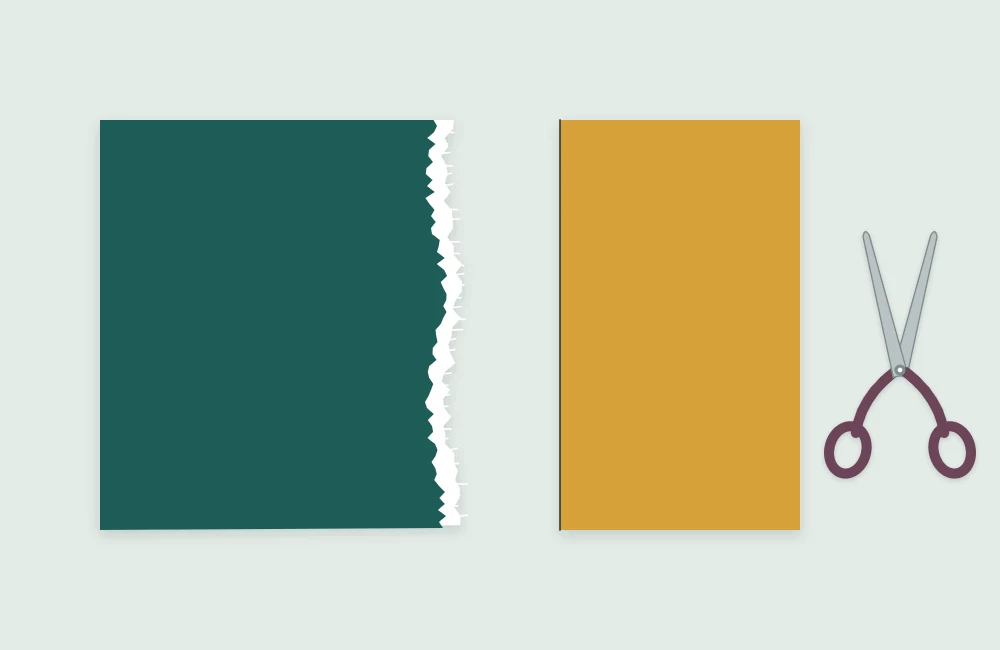
For a controlled tear, hold the paper flat on the table with one hand close to the tear line and pull slowly with the other. For a nearly straight tear, crease the paper first, or run a damp brush along the line and wait a few seconds before pulling.
What to collect
You do not need to buy collage paper. A useful stock builds itself from what passes through the house: security-pattern envelope linings, brown kraft packaging, tissue from gift wrap, old maps, sheet music, paint-sample cards, and offcuts from other projects. If you already keep leftovers, sorting them by color the way the scrap paper projects article suggests makes them far easier to compose with.
Aim for variety in three things rather than in sheer quantity:
- Value — some very light papers, some very dark, several in between.
- Surface — matte next to glossy, smooth next to textured, opaque next to translucent.
- Scale of pattern — plain solids, fine text or small prints, and one or two bold patterns.
Printed magazine pages are a rich source of color, though thin glossy stock wrinkles easily under wet glue. Painting your own sheets with acrylic or gouache and cutting them up afterward gives you exactly the colors you want, an approach famously used on a grand scale in Henri Matisse’s cut-outs.
Composition: a few working rules
Rules in art are habits that usually work, not laws. These are worth trying before you break them.
- Decide on one focal point. Give one area the strongest contrast, the brightest color or the most detail, and keep everything else quieter.
- Keep it off-center. A focal point about a third of the way in from an edge tends to feel more settled than one in the exact middle.
- Vary the sizes. One large shape, a few medium, several small. Pieces of equal size compete with each other.
- Overlap. Shapes that touch or overlap read as a single composition. Shapes floating separately read as a collection.
- Leave room. Empty background is part of the design. An inch (2.5 cm) of quiet margin makes a small collage look intentional.
Color without the theory
A limited palette is the fastest route to a collage that hangs together. Pick three colors: a dominant one that covers most of the surface, a secondary one for support, and an accent used sparingly. Then add neutrals freely — white, cream, gray, black, kraft brown.
To check whether the arrangement works, squint at it or photograph it and view the picture in black and white. If the focal point disappears, the problem is value, not hue: the piece needs something lighter or darker at that spot, however attractive the colors are.
Gluing flat
Wrinkles and warping are the usual disappointments, and both come from too much moisture. Work on a base that can take it: heavy cardstock of 110 lb (about 300 gsm), mixed-media paper, or mat board. Brush a thin, even coat of adhesive onto the back of each piece, from the center out past the edges, working on a sheet of scrap. Lay the piece down, cover it with clean paper and smooth it outward with a bone folder or the side of your hand.
A glue stick is cleaner for thin papers, while PVA or matte medium grips heavier ones; the comparison in which adhesive to use when goes into the trade-offs. When everything is down, press the collage under a few heavy books overnight with a sheet of baking parchment on top so nothing sticks.
Tip
Photograph the loose arrangement before you pick anything up to glue it. Pieces shift the moment you lift the first one, and the photo is the only reliable record of where they were.
A first study to try
A small format keeps the stakes low and can be finished in one sitting.
- Cut a base. Trim heavy cardstock to 5 × 7 in (12.7 × 17.8 cm), a size that fits a standard frame.
- Choose your papers. Pull three colors plus neutrals, no more than seven or eight papers in total.
- Shape the large pieces. Tear two or three broad shapes that together cover roughly two-thirds of the base.
- Add the cut shapes. Cut four or five smaller, crisper shapes in the secondary and accent colors.
- Arrange without glue. Move the pieces around for at least ten minutes. Try rotating the base; a composition often works better upside down.
- Photograph it. Take the picture from directly above.
- Glue from the back layer forward. Lift the pieces off in order and fix the lowest layer first, smoothing each one as you go.
- Press and trim. Dry the study under weight, then trim any overhang from the back with a knife and ruler.
When a collage is not working
If the result feels busy, remove something. Taking away the second-most interesting piece often lets the best one breathe. If it feels flat, the papers are probably too close in value, so add one dark or one light. If it feels scattered, slide the pieces closer until they overlap. And if a glued piece is simply wrong, cover it. Layering over a mistake is not cheating in collage; it is the method.
Finished studies keep best away from direct sunlight, since newsprint and many printed papers yellow and fade faster than artist-grade sheets.
Frequently asked questions
What is the best glue for paper collage?
A glue stick is the cleanest choice for thin papers because it adds very little moisture. PVA or matte acrylic medium, brushed on thinly, holds heavier papers more firmly. Whichever you use, apply a thin even coat and press the finished piece under weight while it dries.
How do I stop collage paper from wrinkling?
Use a heavy base, apply adhesive thinly from the center of each piece out past its edges, smooth the piece down through a clean cover sheet, and dry the finished collage flat under books with baking parchment on top.
Do I need to be able to draw to make a collage?
No. Collage is built by choosing, shaping and arranging paper. Because the pieces can be moved freely before gluing, the composition is worked out by trial rather than by drawing.