How to Make Handmade Paper From Scrap Paper at Home
Turn scrap paper into new sheets with a blender, a tub and a simple screen. A clear walkthrough of pulping, pulling, couching, pressing and drying.
Project at a glance
Materials
- Uncoated scrap paper, torn into 1 in (2.5 cm) pieces
- Water
- Smooth absorbent cloths, a little larger than the mould, one per sheet plus one
- Heavy books or another weight for pressing
- Dried petals, tea leaves or thread snippets (optional)
Learning how to make handmade paper is less about craft skill than about getting comfortable with a wet, slightly messy process. Old paper is soaked and beaten back into pulp, the pulp is floated in a tub of water, and a screen lifted through it catches a thin, even mat of fibers. Pressed and dried, that mat is a new sheet, with soft feathered edges and a texture no machine-made paper has. Expect the first sheet to be lumpy and the fifth to be much better.
The equipment, and what to improvise
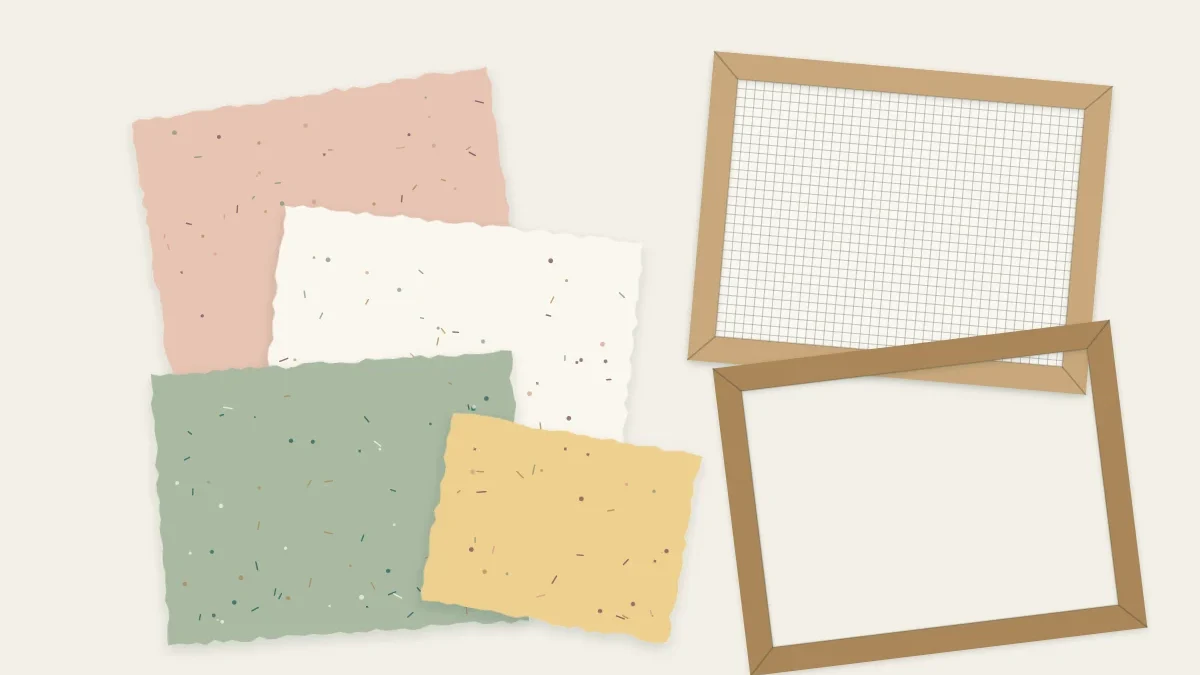
The one specialized tool is a mould and deckle: two frames of the same size. The mould has a fine screen stretched across it; the deckle is an open frame that sits on top and holds the pulp in a neat rectangle. Kits are sold for the purpose, but a workable pair can be made from two flat wooden picture frames of matching size, about 5 × 7 in (13 × 18 cm), with fiberglass window screen stapled tightly across one of them.
Everything else is household: a kitchen blender, a plastic tub larger than the frames and at least 5 in (13 cm) deep, a sponge, and a stack of smooth absorbent cloths such as cut-up cotton sheets or thick non-woven wipes. Papermakers call these cloths felts.
Watch out
Use a blender kept for craft work rather than one that goes back to food, since inks and coatings from printed paper end up in the jar. Never pour leftover pulp down a drain, where it can settle and block the pipe. Strain it through a cloth or sieve and put the solids in the trash, or dry them for another session.
Which scrap paper works
The sheet you make can only be as good as the fiber you put in. Uncoated papers break down easily and bond well: printer paper, envelopes without plastic windows, paper bags, drawing paper, uncoated junk mail, egg cartons. Colored paper and construction paper tint the pulp. Offcuts too small for the ideas in using up leftover paper can all go into the soaking bucket.
Avoid glossy magazine pages, receipts, waxed or plastic-coated paper and anything with tape or staples still attached. Newsprint works but gives a gray, weak sheet that yellows.
Making the sheets
- Tear the paper. Tear scrap into pieces about 1 in (2.5 cm) across. Tearing rather than cutting leaves ragged edges that take up water faster.
- Soak it. Cover the pieces with warm water and leave them for at least a few hours, or overnight for heavier paper.
- Blend the pulp. Put a small handful of soaked paper into the blender and fill it about two-thirds with water. Blend in short bursts for 20 to 30 seconds, until no flakes of paper are visible. Too much paper and too little water strains the motor.
- Charge the vat. Fill the tub with 3 to 4 in (8 to 10 cm) of water and pour in two or three blender loads. Stir with your hand. The mix should look like thin, cloudy soup; more pulp gives thicker sheets.
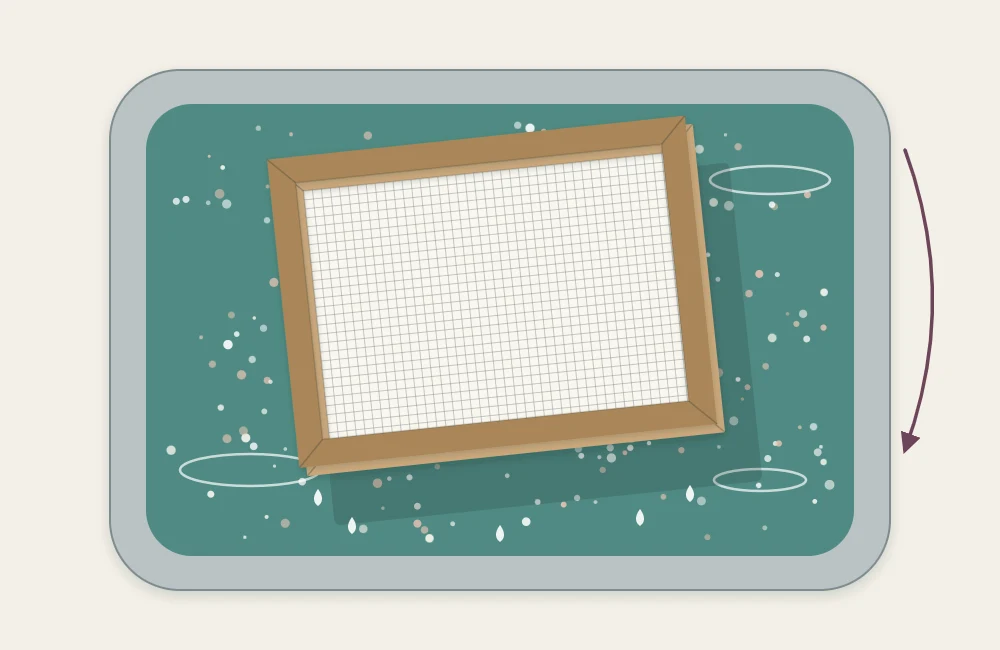
- Pull a sheet. Hold the deckle on top of the mould with the screen facing up. Dip the pair into the far side of the tub at an angle, scoop toward you, level it under the surface and lift straight up.
- Shake and drain. As the water runs through, give the frames a short, gentle shake side to side and front to back. This settles the fibers and locks them together. Then hold still and let the sheet drain until the stream slows to drips.
- Remove the deckle. Lift the top frame straight off, taking care not to drip onto the wet sheet, which would leave marks.
- Couch the sheet. Lay a damp cloth on a flat, waterproof surface. Rest one long edge of the mould on the cloth, then roll it down so the sheet is face down against the cloth.
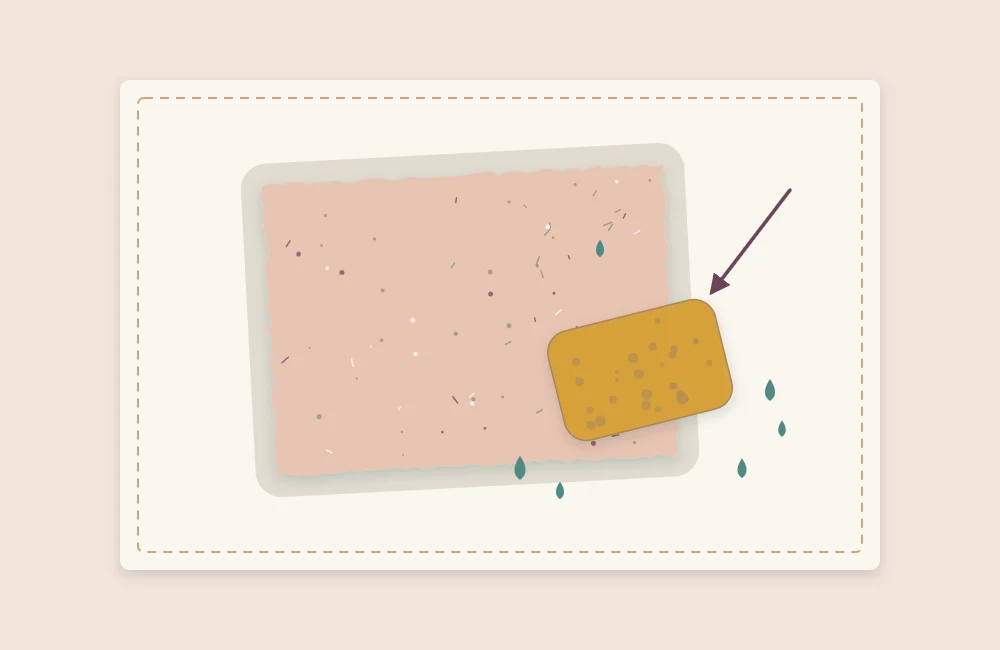
- Sponge out the water. Press a sponge firmly over the back of the screen, wringing it out as it fills. Keep going until little more water comes up.
- Lift the mould. Raise one edge slowly. The sheet should stay behind on the cloth. If it clings to the screen, lower it and sponge again.
- Stack and press. Cover the sheet with another damp cloth and couch the next one on top. When the stack is finished, set a board on it and press down with your weight, or leave heavy books on the board for 15 minutes.
- Dry. Separate the cloths, each carrying its sheet, and lay them flat or hang them up. Drying takes one to two days depending on the room. Peel the paper off when it is fully dry.
Tip
Stir the vat with your hand before every pull. Pulp sinks within seconds, and an unstirred tub gives a thin sheet followed by an unexpectedly thick one. Add another blender load after every three or four sheets.
Reading your first sheets
Each fault points to a single cause, which makes this an easy process to improve at.
- Thick, lumpy sheets: too much pulp in the vat, or the pulp was not blended long enough. Add water or blend longer.
- Thin sheets with holes: too little pulp. Add a blender load and stir.
- Uneven thickness: the mould was tilted as it came up, or the shake was skipped.
- The sheet will not release: the cloth underneath is dry or the sheet is still too wet. Dampen the cloth and sponge more.
- Curling or cockling when dry: the sheet dried unevenly. Mist it lightly and press it between blotting sheets under books for a day.
Color, texture and inclusions
Once plain sheets come out reliably, the pulp becomes something to experiment with. Blend in a few pieces of strongly colored paper for an even tint, or add them at the last second for flecks. Stir dried petals, tea leaves, fine thread snippets or tiny scraps of printed text into the vat rather than the blender, so they stay whole. Keep additions small and flat, and expect plant material to brown over time. The feathered border of each sheet is called a deckle edge; leave it untrimmed.
What to do with the sheets
Paper made this way is absorbent, so fountain pen and marker ink will feather on it; pencil, ballpoint and soft pastel behave better. It is at its best where texture matters: as the front panel of a card built with the basic layered structure, as gift tags, as a backing for a pressed leaf, or torn into pieces for collage work, where its soft edge is an asset.
To go deeper into fibers and traditional methods, the nonprofit Hand Papermaking and the Robert C. Williams Museum of Papermaking are both dedicated to the subject.
Frequently asked questions
Can I make handmade paper without a mould and deckle?
You need some kind of flat screen in a frame to lift the pulp out of the water. Two matching picture frames, one with fiberglass window screen stapled tightly across it, do the same job as a purchased mould and deckle.
What paper should not go into the pulp?
Avoid glossy magazine pages, receipts, waxed or plastic-coated paper, and anything with tape, staples or plastic windows still attached. Newsprint can be used but produces a gray, weak sheet that yellows.
Can you write on handmade paper?
Yes, with the right tool. Paper made this way is absorbent, so fountain pen and marker ink tend to feather. Pencil, ballpoint and soft pastel work better.
How long does handmade paper take to dry?
Usually one to two days laid flat or hung on its cloth, depending on sheet thickness and the humidity of the room. Peel the sheet from the cloth only when it is completely dry.